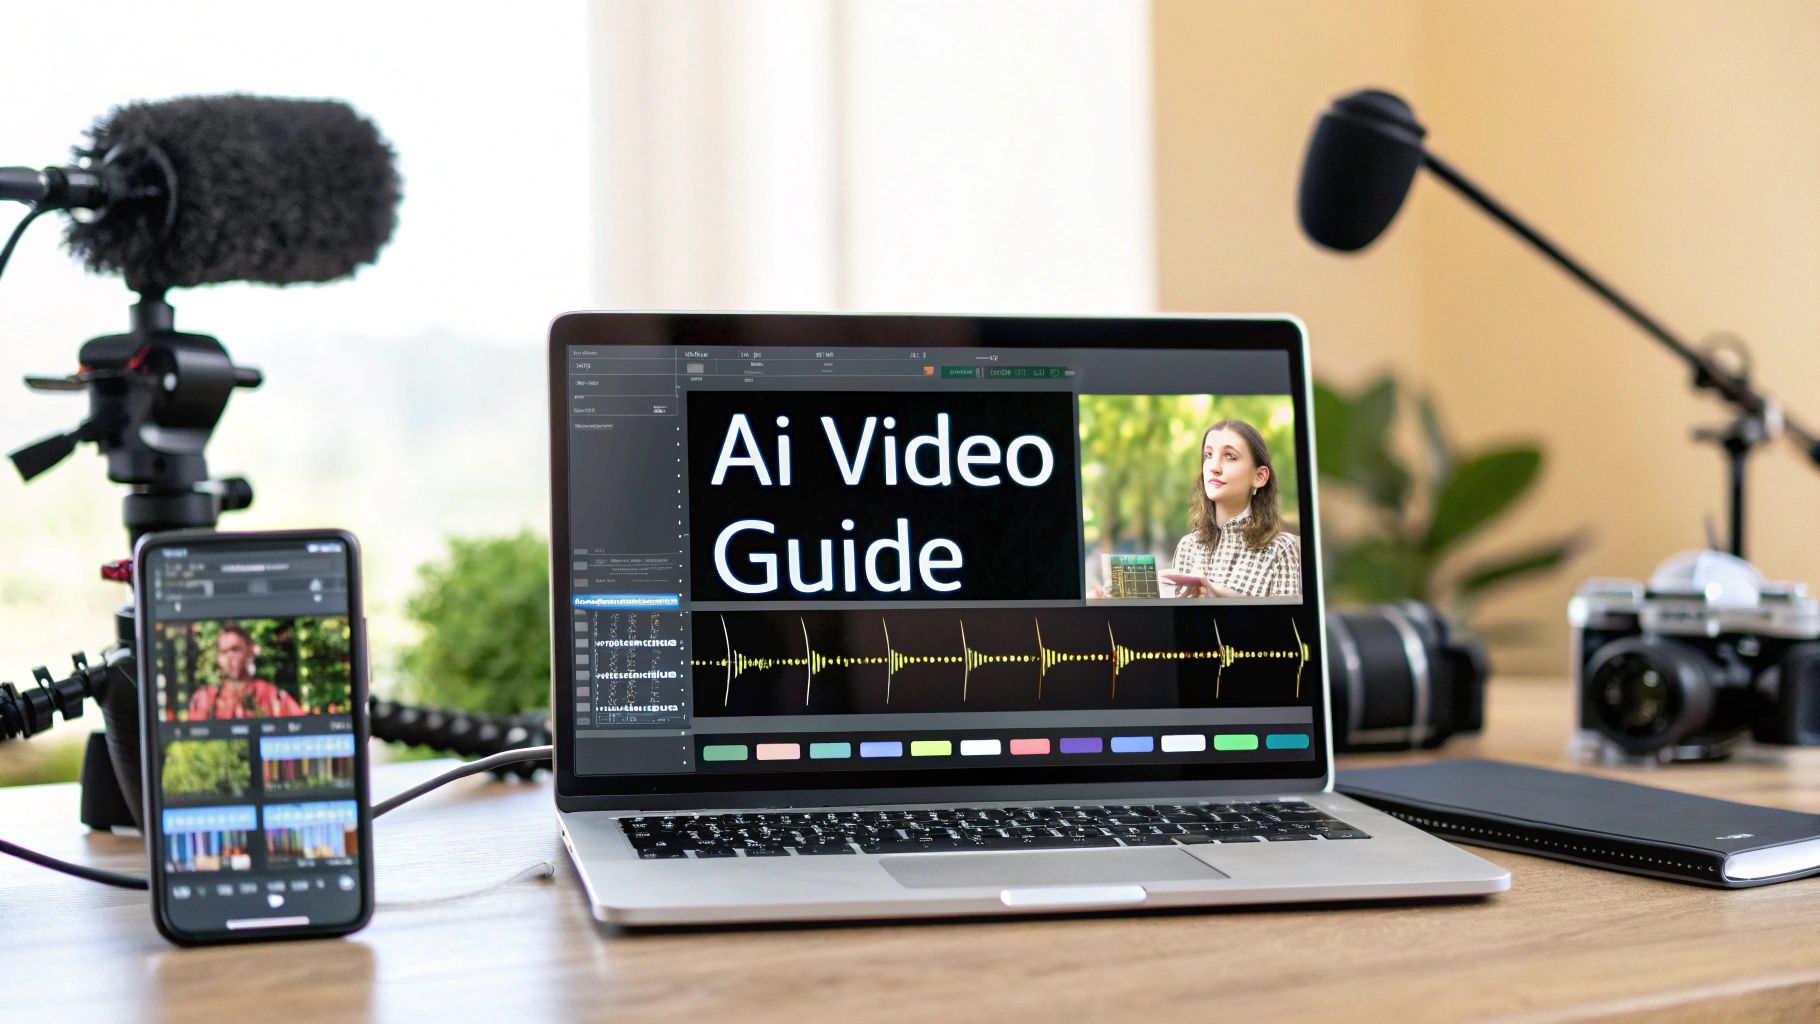
How to Create Video with AI A Beginner's Guide
Learn how to create video with AI using practical steps and proven tools. This guide covers everything from prompts to final export for social media.
When you boil it down, creating a great AI video really comes down to three main stages. First, you feed the AI a text prompt to generate your initial clips. Then, you jump into editing and polishing those clips with other AI tools. Finally, you export the finished product, ready for whatever platform you have in mind.
Using a platform like ViewPrinter, this entire workflow can turn a simple idea into shareable social media content in a matter of minutes, not hours.
The New Reality of AI Video Creation
Forget wrestling with complicated software or needing a bunch of expensive camera gear. The ability to create genuinely high-quality, engaging video with AI isn't some far-off concept anymore—it's a practical tool that anyone can use right now.
This shift is a game-changer. It's opening up video production to marketers, creators, and small businesses who previously couldn't afford the time or resources. The barrier to entry has officially been torn down.
This isn't just about making things easier; it's a massive economic shift. The global AI video market was valued at USD 7.6 billion and is on track to explode, projected to hit an estimated USD 156.57 billion in the next decade. That kind of growth tells you everything you need to know: businesses are leaning heavily on AI to keep up with their content demands.
Your Path from Idea to Final Video
So, how do you actually create a video with AI? It helps to have a clear picture of the workflow. Instead of a steep learning curve, the whole process is broken down into a few simple, manageable phases.
Here’s a look at the three main stages, from your initial idea to a polished final video.
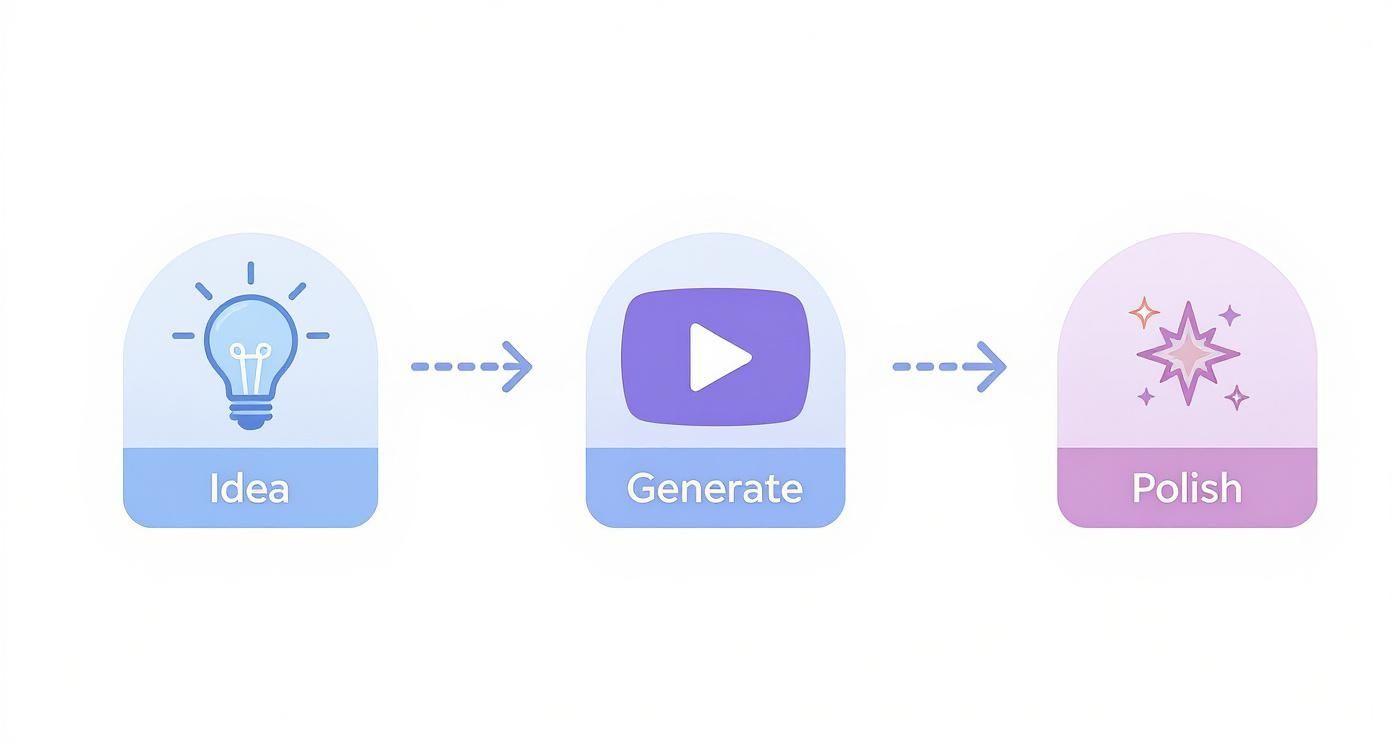
This visual roadmap makes it clear. The journey starts with your concept, moves into the AI-generation phase, and finishes with those crucial polishing touches that make a video stand out.
To give you a clearer idea of the journey ahead, here's a quick roadmap of the process we'll be walking through.
Your AI Video Creation Roadmap
| Stage | Key Action | Goal | | :--- | :--- | :--- | | 1. Generation | Write a detailed text prompt. | Generate high-quality, relevant video clips from your idea. | | 2. Editing | Add voiceover, music, and text. | Polish the raw clips into a cohesive and engaging story. | | 3. Export | Format for a specific platform. | Optimize the final video for maximum reach and impact. |
This table lays out the core steps, turning a complex-sounding process into a simple, step-by-step plan. Let's dig a little deeper into what each stage involves.
The Core Stages of Production
At its heart, this process is a collaboration. It's your creative vision working hand-in-hand with the AI's execution power. Each stage builds on the last, turning a simple text description into a dynamic visual story.
- Ideation and Generation: This is where you translate your concept into a detailed prompt. Your goal is to give the AI enough specific direction to generate video clips that are not just relevant, but actually good.
- Editing and Enhancement: Once you have your raw clips, you’ll use AI tools to add things like voiceovers, background music, text overlays, and transitions. This phase is all about adding personality and a professional sheen.
- Optimization and Export: The final step is all about the destination. You'll format the video for specific social media platforms, making sure the aspect ratio, resolution, and file size are perfect for getting the most engagement.
The real advantage of AI is speed and iteration. You can generate five different versions of an ad hook in the time it would take to set up a single traditional shot, allowing you to test and learn faster than ever.
This structured approach makes video creation not just possible, but incredibly efficient. If you want to explore the broader applications of this technology, be sure to check out our complete guide on AI-powered content creation.
Kicking Off Your First AI Video Project
Jumping into a new creative tool can feel a bit like staring at a blank canvas. But with ViewPrinter, you can go from a simple idea to a solid first draft in just a few minutes. The whole process starts with a simple text prompt—not a bunch of complicated settings.
Let's walk through how to get your first project off the ground and write a prompt that gives the AI the clear direction it needs to do its magic.
When you first land on the ViewPrinter dashboard, you’ll see a clean, simple layout. Your main starting point is that big "New Project" button. Clicking it gives you a couple of options: you can either start from a pre-built template or dive right in with the prompt-to-video feature.
For this guide, we're going all-in on the prompt-to-video workflow. It gives you the most creative control and really shows you what the AI is capable of. This is where you get to translate the vision in your head into concrete instructions.
Setting the Stage: Project Setup
Before you even start typing your prompt, it's a good idea to lock in a few basic details for your video. This initial setup makes sure the video is generated in the right format for its final destination, which can save you a ton of editing headaches down the line.
You'll see a few key options here:
- Project Name: Do your future self a favor and give your project a descriptive name. "Q3 Coffee Promo Reel" is way more helpful than "Video 1."
- Aspect Ratio: This is all about the shape of your video. A 9:16 vertical format is what you want for Instagram Reels, TikTok, and YouTube Shorts. For a standard YouTube video, you’ll want to stick with 16:9 horizontal.
- Video Length: Set a target duration. If you're making a social media ad, aiming for somewhere between 15-30 seconds is usually a safe bet.
Getting these settings right from the get-go is a simple habit that pays off. It frames the entire project and helps the AI make smarter choices about things like pacing and shot composition.
How to Write a Prompt That Actually Works
Here’s the deal: the quality of your AI video is almost entirely dependent on the quality of your prompt. A vague, one-word prompt is a recipe for generic, uninspired results. The secret is to be descriptive and specific—paint a picture with your words.
Think of it like you're a director giving instructions to your film crew. You wouldn't just mumble "film a car." You'd specify the car's color, the setting, the time of day, and the exact mood you're trying to capture.
Let's look at a quick comparison.
Weak Prompt:
A video of coffee.
This prompt leaves way too much up to the AI's imagination. It sounds cool in theory, but in practice, it usually leads to footage that’s completely unusable because it lacks any real context, style, or purpose.
Strong Prompt:
A vibrant, 30-second Instagram Reel showing steam rising from a freshly brewed cup of coffee. The setting is a cozy, sunlit cafe with a minimalist aesthetic. Use a close-up, slow-motion shot to capture the details.
See the difference? This prompt is way more effective because it includes specific elements that guide the AI’s creative process.
Pro Tip: Your first prompt is just a starting point, not the final command. The best stuff often comes from a little back-and-forth. If the first version isn't quite right, try tweaking your prompt with stylistic keywords like 'cinematic lighting' or 'energetic pace' and generate it again.
The Anatomy of a Great Prompt
To get great results consistently, your prompts should include a few core ingredients. If we break down that strong coffee prompt from earlier, we can see a repeatable formula for success.
- Action & Subject: State clearly what’s happening and what the main focus is. ("Steam rising from a freshly brewed cup of coffee.")
- Setting & Environment: Describe the background to give it some context. ("A cozy, sunlit cafe.")
- Style & Mood: Use descriptive adjectives to define the video's look and feel. ("Vibrant," "minimalist aesthetic.")
- Cinematic Direction: Give the AI camera instructions to guide the visuals. ("Close-up, slow-motion shot.")
- Format & Length: Mention the intended platform and duration. ("30-second Instagram Reel.")
By including these details, you seriously boost the chances that the AI's first draft will be pretty close to what you envisioned. This thoughtful approach to prompt writing is what separates the pros from the amateurs, turning a simple text box into a powerful storytelling tool.
Once your prompt is ready, all that's left to do is hit "Generate" and watch your idea come to life.
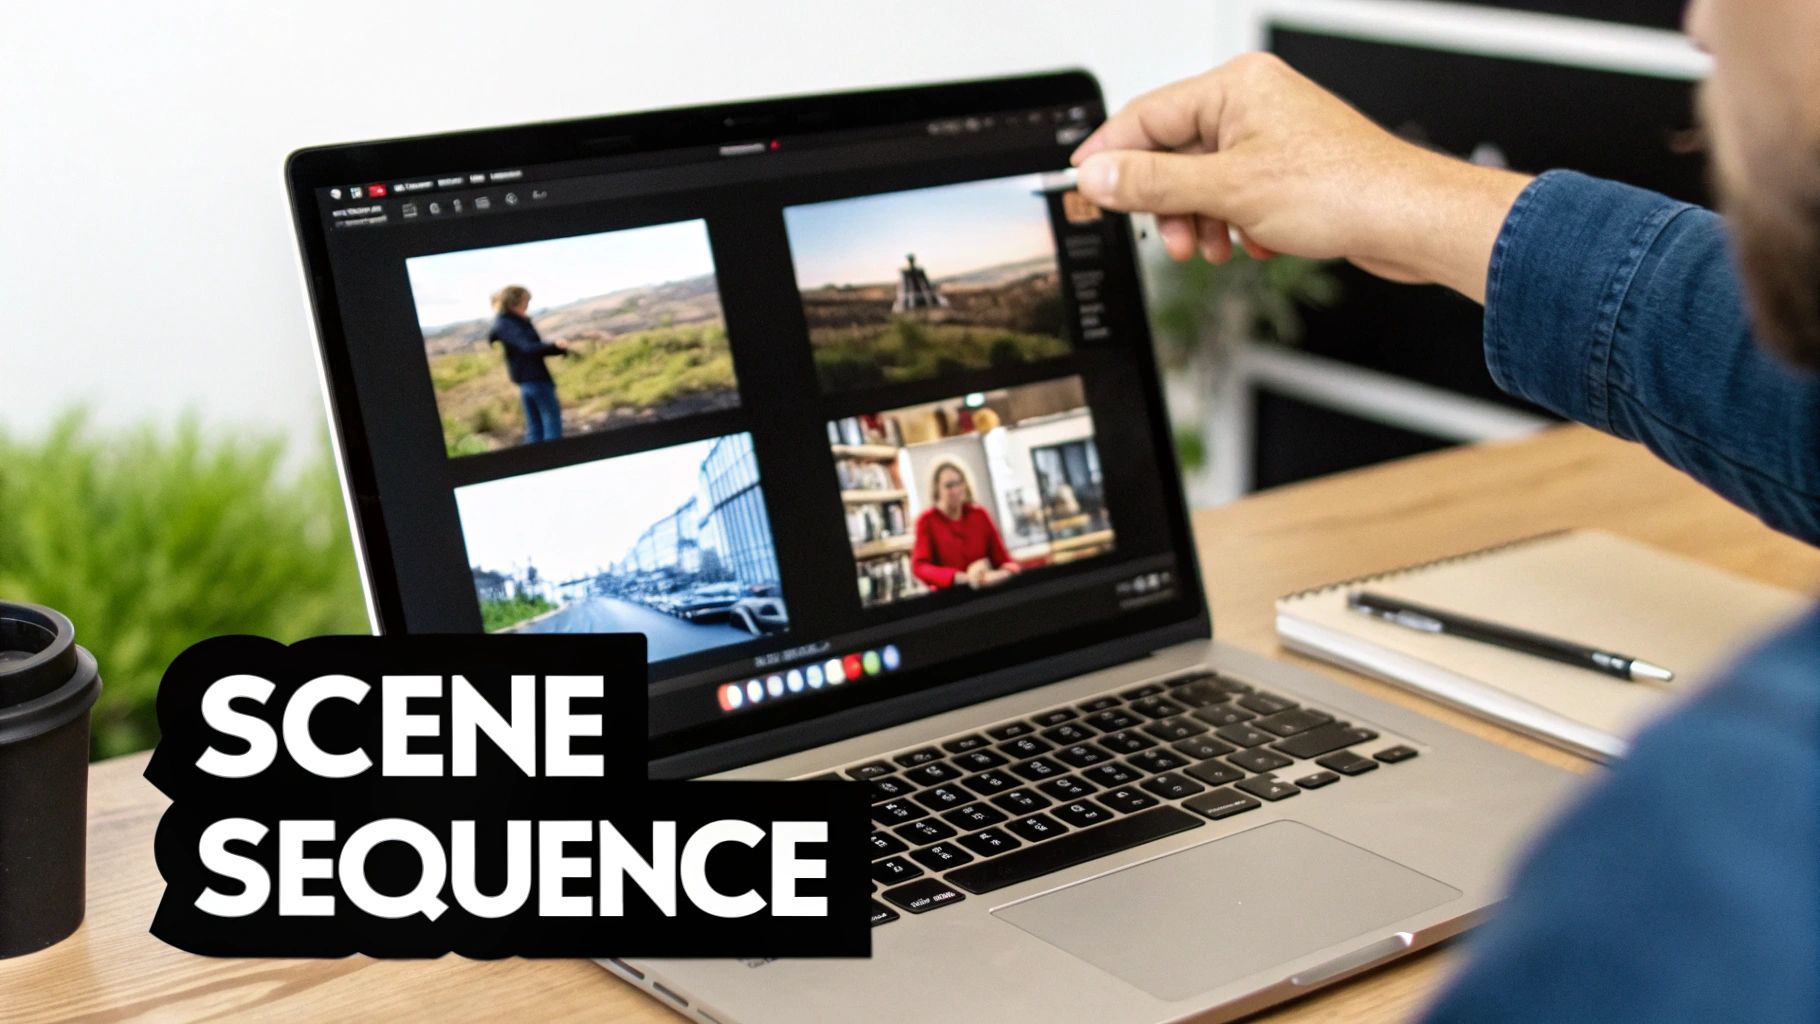
Fine-Tuning Your Video Scenes
Alright, so your first prompt did its job and churned out the initial scenes for your video. Now the real fun begins. This is where you shift from just generating clips to actually crafting a story, tweaking each scene until it’s just right.
Think of yourself as a director working with a very talented, but very literal, assistant. You’ve got the vision, and the AI has the raw footage. The magic happens when you learn how to steer the AI to get exactly what’s in your head onto the screen.
Guiding the AI for a Consistent Look
One of the trickiest parts of making AI video is making sure all your clips look like they belong in the same universe. A sudden jump from a cinematic style to a cartoonish one can be jarring for viewers. This is where you need to get good at iterative prompting.
Instead of starting from scratch for every scene, you'll want to build on what’s already working. Let's say your first clip is perfect, but the next one feels a bit… off. Just hit regenerate scene in ViewPrinter, but this time, add a few keywords to nudge it in the right direction.
Here are a few stylistic keywords I often use to keep things consistent:
- For Mood:
cinematic lighting,soft and dreamy,high-contrast,noir aesthetic - For Pace:
fast-paced and energetic,slow, graceful movement,dynamic action shots - For Style:
minimalist design,vintage film look,vibrant and colorful,documentary style
By adding these kinds of specific descriptors, you’re giving the AI clearer guardrails. It helps make sure every new clip fits the visual style you've already established. And if you really want to add some extra pop, learning about creating animated images with AI can introduce some killer dynamic elements to your project.
Getting Better Results with Each Try
Look, nobody gets the perfect shot on the first attempt. That’s totally normal. The secret is to learn from each generation instead of just hitting "regenerate" and crossing your fingers.
Take a second to figure out what went wrong. Was the camera angle weird? Be more specific. Instead of a cup of coffee, try an overhead shot of a cup of coffee. Did the subject look too modern for your vintage vibe? Add with a retro 1970s feel to your prompt. This back-and-forth is how you really get the hang of it.
The best way to work with an AI is to treat it like a conversation. Your first prompt is the opener. Each regeneration is the AI’s response. Your job is to keep clarifying what you want until it finally gets it.
This whole process saves a ton of time compared to traditional video shoots. It’s exactly why the AI video generator market is blowing up—it was valued at USD 534.4 million and is expected to hit USD 2,562.9 million in just eight years. Businesses are hungry for faster, cheaper ways to make great video.
Making Small Tweaks Without Starting Over
Sometimes you’ll get a clip that’s like, 90% of the way there. Just one little thing is off. It feels like a waste to scrap the whole scene and start over. That’s when you need to use ViewPrinter’s more subtle adjustment tools.
Instead of rewriting your prompt, you can use these built-in features to make smaller, more targeted changes.
| Feature | What It Does | When to Use It | | :--- | :--- | :--- | | Adjust Style Intensity | Makes your stylistic keywords more (or less) obvious in the final clip. | When a look is a bit too strong or too subtle, but the main subject is perfect. | | Vary Seed | Creates a new version of the clip using the same prompt but a different starting point. | When you like the concept but want a slightly different camera angle or character pose. | | In-Clip Editing | (Coming soon) Will let you select and regenerate just one part of a scene. | To fix a weird object in the background without redoing the entire clip. |
These tools give you a level of control that closes the gap between broad-stroke prompting and detailed editing. They let you make those final, precise adjustments that turn a good concept into a polished, professional-looking video. This is where the real craft comes in.
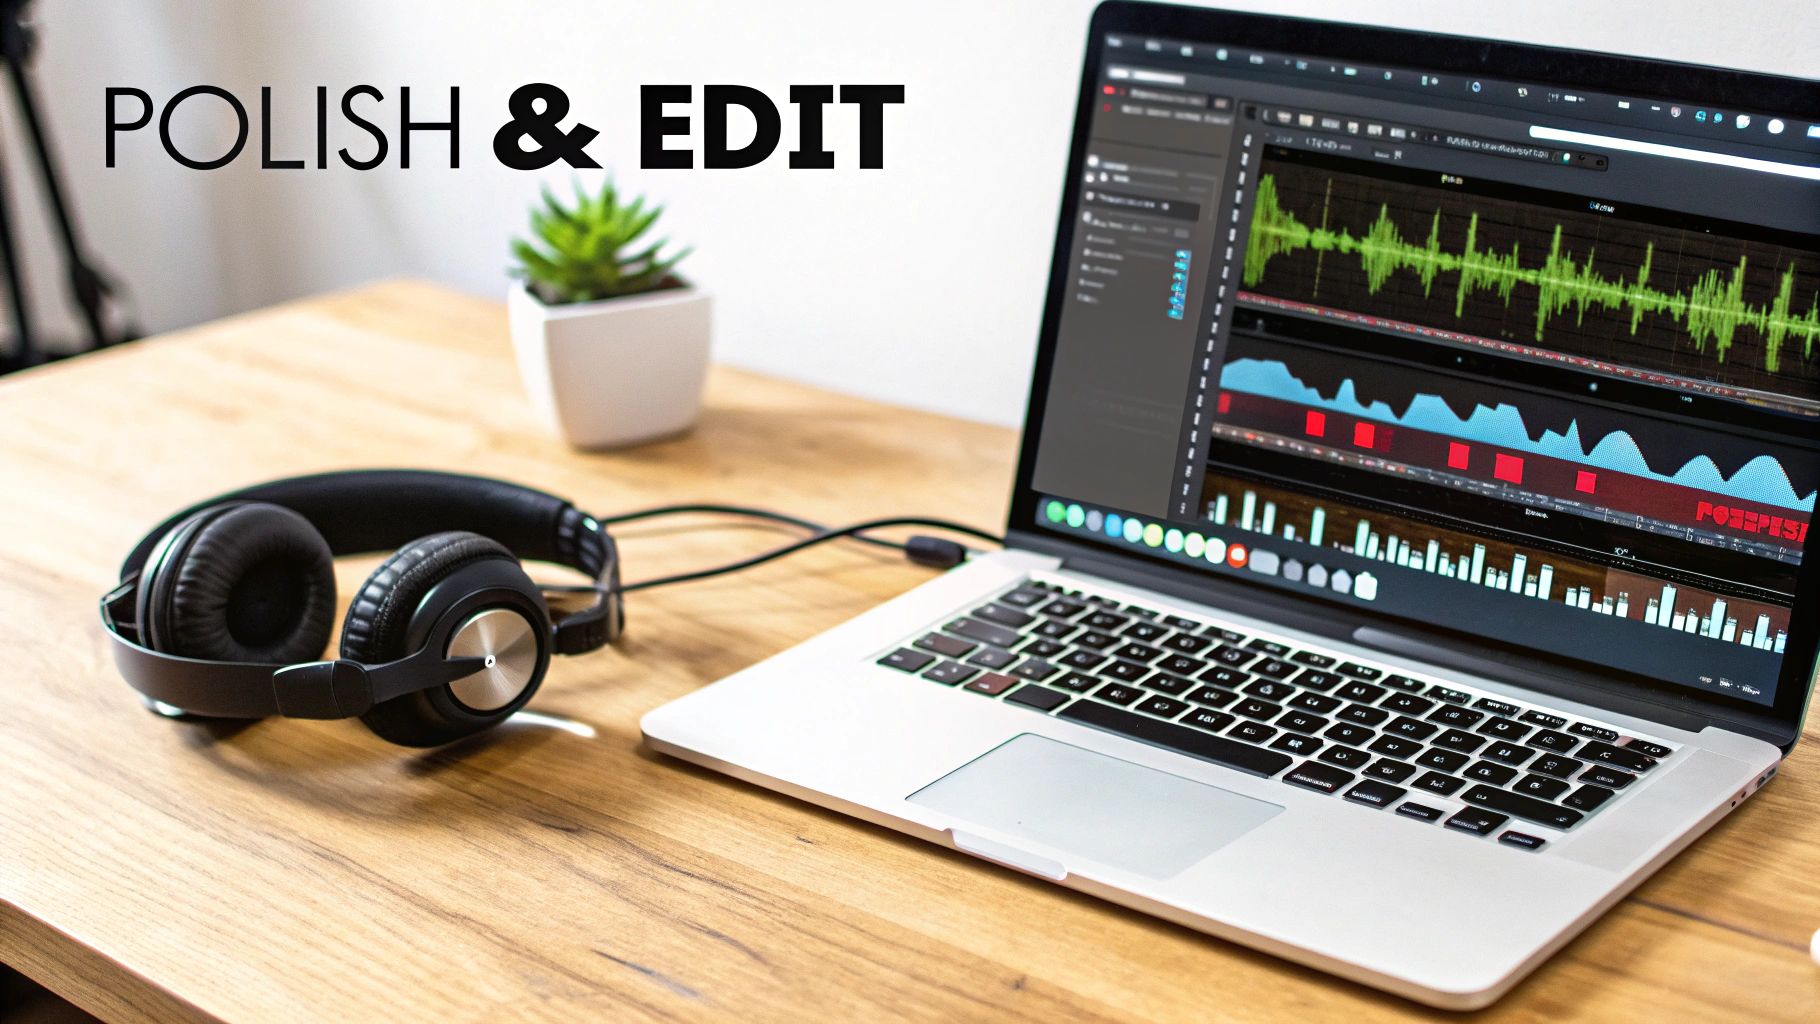
Editing And Polishing With AI-Powered Tools
Getting your first few clips generated is a great start, but the real magic happens in the edit. This is where you transform a handful of scenes into a video that actually grabs someone's attention and tells a story.
Thankfully, you don't have to be a professional editor anymore. The AI tools baked into ViewPrinter make the whole process feel less like a chore and more like the fun, creative part. Let's get into how to use them to add that final polish that makes your video look and sound amazing.
Giving Your Video a Voice With AI Narration
One of the quickest ways to connect with your audience is with a good voiceover. But let's be honest, recording your own can be a pain—you need a decent mic, a quiet room, and the patience to do multiple takes. Hiring a voice actor? Even more complicated.
This is where AI voice generation completely changes the game.
With ViewPrinter, you just type out your script, pick a voice that fits your brand's vibe, and the platform spits out a perfectly paced, surprisingly human-sounding narration in seconds.
- Find Your Voice: Need something high-energy for a promo? Or a calmer, more trustworthy tone for a tutorial? Just browse the library of AI voices and find the one that fits.
- Generate and Sync: After you pop in your text, the AI creates the audio and can even sync it to your video's timing automatically. No more tedious manual alignment.
This feature is a huge time-saver. If you want to tweak the script, you just edit the text and regenerate the voiceover instantly. No re-recording necessary.
The real power here is consistency. You can use the same brand voice for every video in a series, creating a cohesive and familiar audio identity your audience will recognize.
Setting The Mood With AI-Curated Music
Everyone knows the right background music is crucial. It sets the emotional tone and can make or break the pacing of your video. But who has time to scroll through endless libraries of royalty-free music? It's a notorious time-suck for creators.
ViewPrinter’s AI music library actually analyzes your video clips to suggest tracks that fit the mood. Instead of guessing with keywords like "upbeat corporate," the AI recommends music based on your actual visuals. This smart curation helps you find the perfect soundtrack in a fraction of the time.
Adding Dynamic Text and Branding Elements
Your video needs to get key information across clearly, and that's where text overlays and branding come in. These are the little things that reinforce your message and make sure you get credit for your awesome content.
Here’s how the AI tools in the editor can help:
- Animate Your Text: Create eye-catching titles and calls-to-action with slick animations that would normally take ages to keyframe by hand.
- Place Your Logo Smartly: The AI can look at each scene and find the best, most unobtrusive spot to place your logo so it’s visible without covering up anything important.
- Drop in Clear CTAs: Easily add a final screen or overlay prompting viewers to "Shop Now" or "Learn More," giving them a clear next step.
These features turn a simple visual story into a real marketing asset. For a deeper look at different editing platforms, check out our guide on the best video editing software for social media.
The shift toward AI in post-production isn't just a small trend; it's a massive industry movement. The AI in media and entertainment market was valued at USD 26.34 billion and is expected to rocket to USD 166.77 billion in just nine years. That explosive growth shows just how much value businesses are getting from smart automation.
This chart really drives home the market projections for AI in our space.
This isn’t just about niche tools anymore. AI is fundamentally changing how content gets made, and automated video editing is at the heart of it all.
Traditional Editing vs AI-Assisted Editing
To really understand the difference AI makes, it helps to see a side-by-side comparison of common editing tasks. What used to take hours of manual work can now be done in minutes.
| Editing Task | Traditional Method (Effort) | AI-Assisted Method (Effort) | Key Benefit of AI | | :--- | :--- | :--- | :--- | | Color Correction | High: Manually adjusting levels, curves, and saturation for each clip. | Low: One-click color grading based on scene analysis. | Instantly achieves a consistent, professional look. | | Audio Cleanup | High: Using EQs and noise reduction plugins to remove background hum. | Low: Automatic background noise removal and voice enhancement. | Crystal-clear audio without technical know-how. | | Subtitling | Medium: Manually transcribing audio and timing captions. | Low: Auto-transcription and caption generation with one click. | Saves hours of tedious work and improves accessibility. | | Finding B-Roll | High: Searching stock footage libraries with keywords. | Low: AI suggests relevant B-roll clips based on your script. | Finds better, more relevant footage in less time. |
The takeaway is simple: AI handles the technical, time-consuming parts of editing, freeing you up to focus on the storytelling and creative vision.
Creating a Seamless Flow With Smart Transitions
Finally, you need to stitch everything together. A clunky, abrupt cut can pull a viewer right out of the experience, but the right transition keeps the story moving smoothly.
Instead of just guessing which transition to use, AI-assisted editors can suggest them based on the content of your clips. It might recommend a gentle fade for a thoughtful moment or a quick, dynamic wipe for a high-energy sequence. It’s a small touch that takes the guesswork out of the process and helps your video flow beautifully from start to finish.
Fine-Tuning Your Video for Social Media
So, you've just created a killer AI video. That's a huge win, but don't hit publish just yet. The last and arguably most crucial step is making sure your masterpiece is perfectly tuned for the social media platforms where your audience actually hangs out.
Getting this part right can be the difference between a video that takes off and one that completely fizzles out. Every platform plays by its own rules. A video that crushes it on TikTok might get totally ignored on YouTube Shorts if it’s not formatted correctly.
Thankfully, ViewPrinter’s export settings take a lot of the guesswork out of this, helping you nail the technical side of things without a headache.
Nailing the Technical Export Settings
Before you get trigger-happy with that "Export" button, pause and double-check the technical specs. These little details are what make your video look sharp, load fast, and fit right into someone's feed. A pixelated or slow-loading video is an instant scroll-past for most users.
Here are the must-haves for platforms like Instagram Reels and TikTok:
- Aspect Ratio: This is a big one. For vertical video, you always want 9:16. It’s non-negotiable. This ratio fills the entire phone screen, pulling your viewer in without those clunky black bars on the sides.
- Resolution: Go for the best quality you can without ending up with a gigantic file. 1080p (1920x1080) is the gold standard here. It delivers crisp, professional-looking visuals on any device.
- File Format: Stick with MP4. It's the universal language of web video, offering that sweet spot between high quality and a manageable file size. That’s key for quick load times.
Getting these settings right is your ticket to delivering a high-quality viewing experience. If you really want to go deep, understanding effective video compression for social media can give you a serious edge.
Moving Beyond the Technical Specs
The right settings are your foundation, but true optimization is about being strategic. You need to think about how people will actually find and watch your video. This is another spot where AI can be your secret weapon.
You've already used AI to make the video; now let's use it to market it. Inside ViewPrinter, the built-in writing assistant can help you brainstorm snappy titles, engaging descriptions, and relevant hashtags that tap into what people are already searching for.
A fantastic video with a boring title is like a great book with a blank cover—no one's going to pick it up. Use the AI to spit out five or ten title ideas, then choose the one that sparks the most curiosity. This tiny step can have a massive impact on your view count.
This lets you quickly explore different angles. You can also generate a handful of short, punchy descriptions and pair them with trending hashtags to see what your audience responds to most.
A-B Test Your Way to a Viral Hit
One of the smartest ways to grow on social media is to stop guessing and start testing. A-B testing allows you to use real data to figure out what your audience wants, and AI makes this process incredibly simple.
From a single video project, you can spin up multiple variations to test specific elements.
- Switch Up the Hook: Make two versions with different opening scenes or text overlays in the first three seconds. This will tell you exactly which opener is best at stopping the scroll.
- Test Your Calls-to-Action (CTAs): Export one video with a "Shop Now" button and another with "Learn More." Check the click-through rates to see which prompt drives more action.
- Play with Captions and Thumbnails: Let the AI generate different thumbnail concepts and caption styles. A killer thumbnail is often the single most important factor in getting someone to click play.
By testing these components one by one, you’ll gather priceless data that makes your future content smarter and more effective. If you’re looking for more ways to level up on Instagram, our guide on how to get more views on Reels is packed with actionable advice. This data-first approach is how you build a reliable engine for growth, not just a one-hit wonder.
Common Questions About AI Video Creation
https://www.youtube.com/embed/ZSi-PiP20h0
Jumping into any new tech always brings up a few questions. When it comes to making videos with AI, it's totally normal to wonder about the costs, what you can (and can't) do, and how it all actually works.
We’ve pulled together the most common questions we get from new ViewPrinter users to give you clear, no-fluff answers. Think of this as a quick chat to clear up any confusion and get you ready to start creating.
Can I Use My Own Footage or Images?
Yes, and you absolutely should. While you can create amazing things from a simple text prompt, the real magic often happens when you mix your own assets with AI's creative power.
Most solid AI video platforms, including ViewPrinter, let you upload your own media. This is a game-changer for anyone with a product to sell. You can upload a clean shot of your product and then use a prompt to build an entire world around it.
For instance, you could prompt something like, "Create a slick 15-second TikTok video showing this product on a minimalist background with celebratory confetti falling." You get the control of using your own high-quality image with the incredible speed of AI-driven animation.
How Much Does It Cost To Make an AI Video?
The cost can swing quite a bit depending on the tool you use and what you’re trying to create. A lot of platforms work on a credit system—a short, simple clip might cost one credit, while a longer, high-definition video will use up more.
At ViewPrinter, we have a few different subscription plans to fit whatever you're working on:
- Starter Plans: Perfect if you're just starting out or running a small business. You get a solid number of credits each month to experiment and create.
- Premium Plans: Built for agencies and creators who are constantly churning out content. These come with more credits, team features, and other advanced tools.
The biggest plus here is that it's way more affordable than old-school video production, which can easily cost thousands of dollars for a single professional shoot. With AI, you’re looking at a predictable monthly expense instead.
The real savings isn't just money—it's time. Being able to generate a dozen different video ideas in the time it used to take just to set up the lighting for one shot is a massive advantage.
What Are the Creative Limitations?
AI video tech is moving incredibly fast, but it's not perfect... yet. It's good to know where the current boundaries are so you can work with the technology, not against it.
You'll mostly run into challenges with really fine details and complex, specific actions.
- Hands and Faces: AI sometimes fumbles with rendering realistic hands or keeping a person's facial expressions perfectly consistent from one scene to the next.
- Complex Physics: Actions that rely on a deep understanding of physics—like a perfect spiral on a football throw or intricate dance moves—can sometimes look just a little bit off.
- Text on Objects: Trying to generate crisp, clear text on a moving object in a scene (like a logo on a t-shirt) can be a bit of a gamble.
The trick is to lean into what AI does best. Focus your prompts on broader actions, moods, and aesthetics. For those super-specific details where you need total control, uploading your own footage is usually the way to go.
Ready to stop wondering and start creating? ViewPrinter gives you all the tools you need to generate, edit, and schedule stunning social media videos in minutes. Sign up for free and start your first project today at https://viewprinter.tech.