Create a Realistic Avatar with AI
Want to create a realistic avatar? This guide walks through how to use AI tools like ViewPrinter to generate a lifelike digital twin for any purpose.
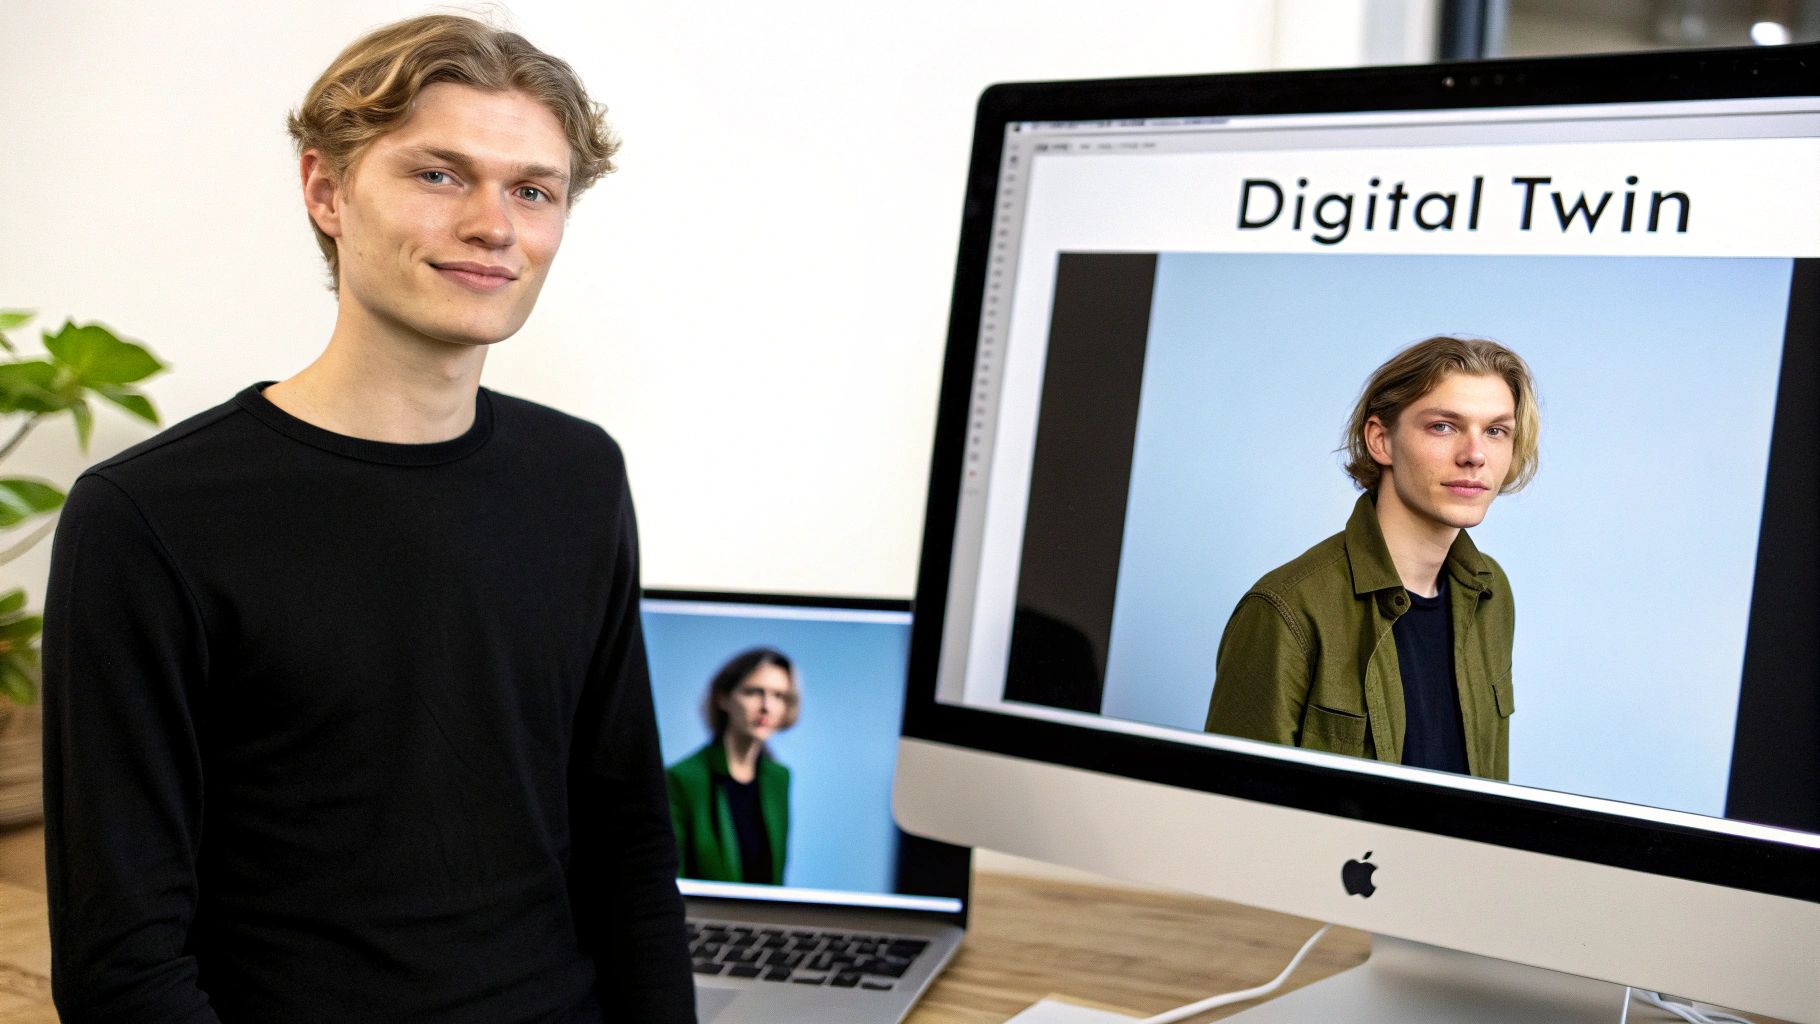
Making a realistic avatar is actually way more straightforward than it sounds. At its core, you're just using a smart AI tool, like the one we've built at ViewPrinter, to process a handful of your photos and turn them into a lifelike digital version of you.
This "digital twin" isn't just a gimmick. It becomes a powerful asset for everything from virtual meetings to full-blown marketing campaigns, giving you a perfectly consistent and professional look online.
Why Realistic Avatars Are Changing the Game
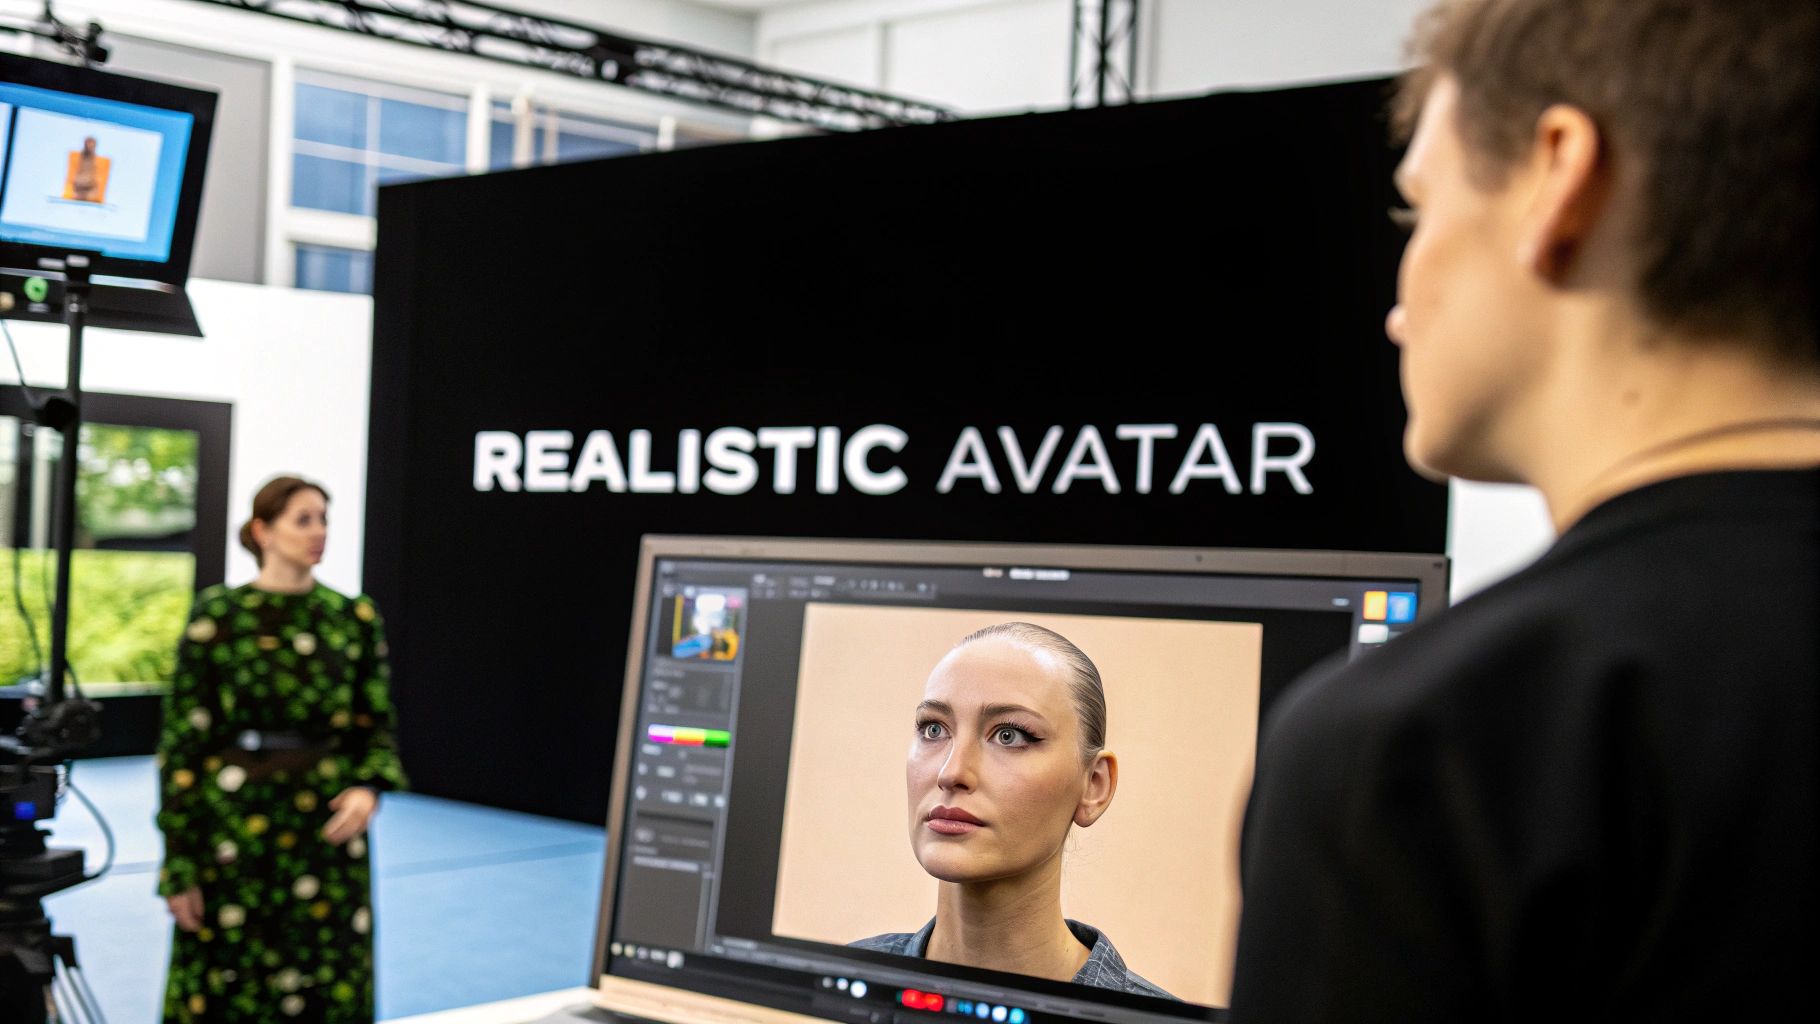
Forget those clunky, cartoonish avatars from the early days of the internet. We've entered a new era where AI can generate a digital person so realistic it's hard to tell it's not a photograph.
And this isn't just about cool tech; it's a genuinely practical tool for professionals, creators, and brands who need to maintain a sharp, consistent digital identity.
A Leap in Realism and Accessibility
The technology behind this has taken a massive leap forward. Modern processing power has exploded—we're talking more than 1 million times more powerful than early systems. This is what allows developers to nail that uncanny 85-90% human likeness in avatar appearance. You can really get a sense of how far the tech has come by looking back at the journey to human likeness. It means you can now create a digital version of yourself that captures your unique look with stunning accuracy.
The ways people are using these digital twins are growing every day.
- Professional Branding: You can show up to every virtual meeting or presentation looking polished and consistent, no matter what your background looks like in real life.
- Scalable Content: Think about creating marketing videos or tutorials without having to be physically on camera for every single take.
- Virtual Worlds: Represent yourself authentically in the metaverse, VR platforms, and other emerging digital spaces.
To really get the full picture, it helps to understand the broader concept of virtual models and see how they're making waves across different industries.
Platforms like ViewPrinter now offer studios that make this whole process incredibly intuitive. Getting a handle on the basics of AI-generated avatars is really the first step to creating your own.
How to Prepare Your Photos for Lifelike Results
The final quality of your AI avatar comes down to one thing: the quality of the photos you feed the system. Think of it like this—if you give a sculptor low-grade clay, you can't expect a masterpiece. The ViewPrinter AI works the same way; it needs clear, consistent data to accurately map your face.
Your goal is to give the AI a complete, 360-degree understanding of your facial structure. Blurry shots, low-res images, or pictures taken in funky lighting will just confuse the system. The result? A digital twin that doesn't quite look like you.
Lighting and Clarity Come First
Honestly, the most critical factor here is lighting. You're looking for soft, even light that illuminates your face without casting any harsh shadows. Standing near a window on a bright day is usually perfect.
You'll want to avoid photos with:
- Harsh, Direct Sunlight: This creates really strong shadows that can completely change the perceived shape of your face.
- Dim or Grainy Conditions: If it's too dark, the photo won't have enough detail for the AI to work with.
- Weird Color Casts: Mixed lighting, like a yellow lamp and blueish window light, can throw off the colors and confuse the model.
Every photo also needs to be sharp and in focus. The AI is looking at the tiny details that make you, you. Even a little bit of motion blur can seriously downgrade the realism of your final avatar.
I see this mistake all the time: people use photos where their face is partly covered. Sunglasses, hats, or even your hand near your mouth will block the AI from capturing your entire facial structure. Keep everything clear.
Variety Is What Creates Accuracy
Once you've got your lighting and focus sorted, the next step is providing a good range of angles. To create a realistic avatar, the AI needs to see more than just a selfie you took straight-on.
A solid set of photos usually includes:
- Front-facing: At least 3-5 clear shots looking right at the camera.
- Three-quarter view: A few shots with your head turned slightly to the left, and a few to the right.
- Profile view: Get at least one good shot of the left side of your face and one of the right.
For most of these photos, try to keep your expression neutral and consistent. It's okay to have one or two with a small, natural smile, but a neutral face gives the AI the cleanest possible canvas to build from.
I've put together a quick checklist to help you get this right every time. It’s a simple guide to make sure your photos are perfect for the job.
Photo Submission Checklist for a Realistic Avatar
| Criteria | Recommended | What to Avoid | | :--- | :--- | :--- | | Quantity | 10-15 high-quality photos | Fewer than 5 photos, duplicates of the same angle | | Lighting | Soft, even, natural daylight | Harsh shadows, backlighting, dark or grainy images | | Focus | Sharp, clear, and in-focus | Blurry, out-of-focus, or pixelated images | | Obstructions | Face is completely visible | Sunglasses, hats, hands, hair covering your face | | Expression | Mostly neutral, closed mouth | Exaggerated smiles, open mouth, silly faces | | Angles | Front, 3/4 left, 3/4 right, profile shots | Only front-facing selfies, extreme up/down angles | | Background | Simple, neutral, and uncluttered | Busy backgrounds, other people in the shot |
By following these guidelines, you're not just uploading pictures; you're handing the AI a perfect blueprint for a digital you that's genuinely lifelike.
Getting Your Avatar Started in the Studio
Alright, you've got your photos ready to go. Now it's time to jump into ViewPrinter's avatar studio and bring your digital twin to life. The whole interface is designed to walk you through it, making the process feel surprisingly straightforward, even if it's your first time trying to create a realistic avatar.
First thing's first: you need to upload your photos. This is the bedrock of the whole operation, so make sure you’ve followed the photo prep guidelines we talked about. Just drag and drop your images into the upload area. The platform will do a quick scan to make sure they meet the quality standards the AI needs to do its job right.
The AI Training Phase
Once your photos are in, the real work begins behind the scenes. This is the AI training phase. ViewPrinter's system starts crunching the data, analyzing every pixel to map out your facial features, bone structure, and even skin texture from all the different angles you provided.
This isn't an instant process, so don't be surprised if it takes a little while. The AI is literally learning what makes you, you. You can keep an eye on its progress with a status bar right in the studio. During this time, the system is building a sophisticated 3D model that will serve as the foundation for your final photorealistic avatar. If you're curious about the deep tech behind this, check out this ultimate guide to AI for professional headshots for a closer look.
The whole workflow is pretty simple when you break it down.
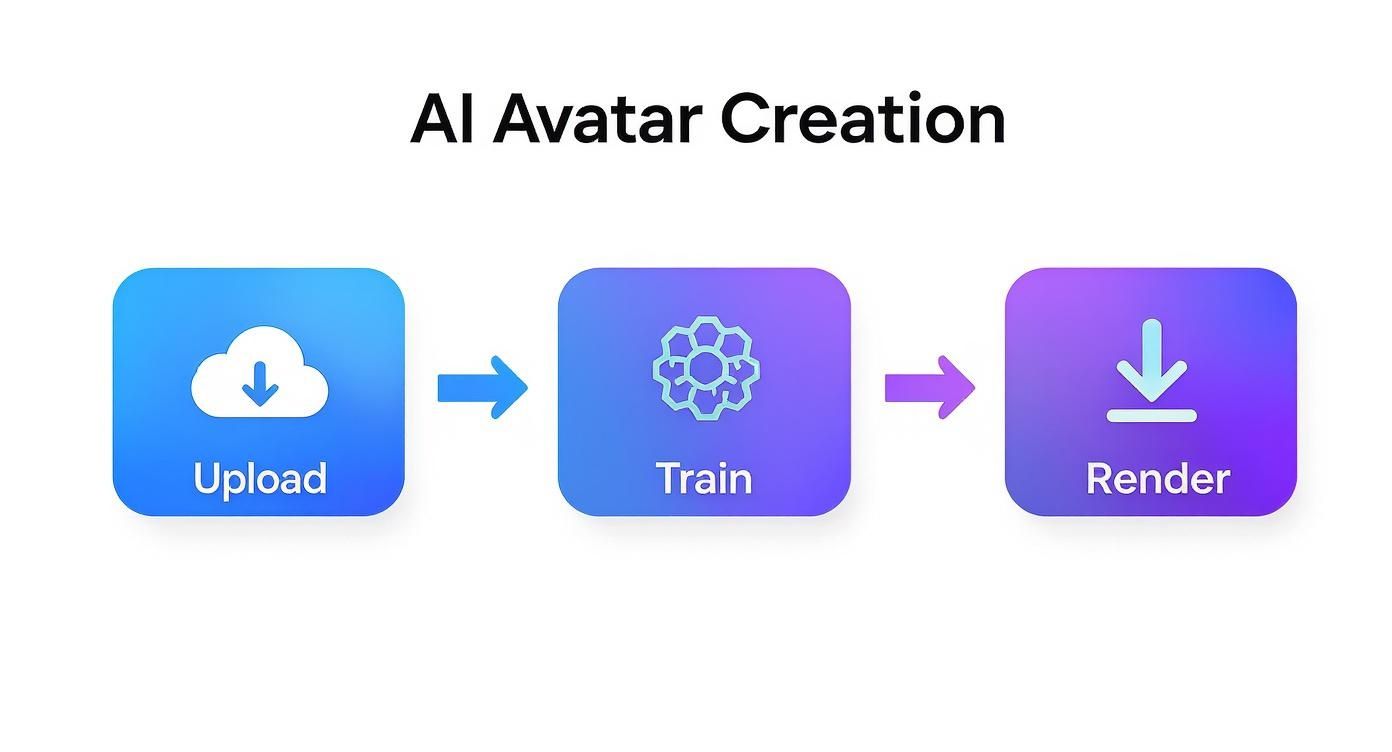
As you can see, it's a clear, three-part journey: you provide the photos, the AI does its thing, and you get a finished digital persona ready to download.
From Model to Final Render
After the training wraps up, the platform will spit out a base model of your avatar. Think of this as the AI's first draft—its best guess at your likeness based on the images it just studied. From here, you'll be able to start tweaking and refining its appearance.
For a deeper dive into the customization tools you'll have at your disposal, our guide on using an https://viewprinter.tech/blog/articles/ai-avatar-maker has all the details you’ll need.
Key Takeaway: The training period is absolutely the most important step. Garbage in, garbage out. High-quality, varied photos at the start directly result in a more accurate and believable final avatar. Don't rush your photo selection—it really pays off here.
The last part of this initial process is the render. Once you're happy with the base model, the platform will generate the high-resolution files. And just like that, you're ready to start styling and using your new digital identity wherever you want.
Customizing Your Avatar's Style and Appearance
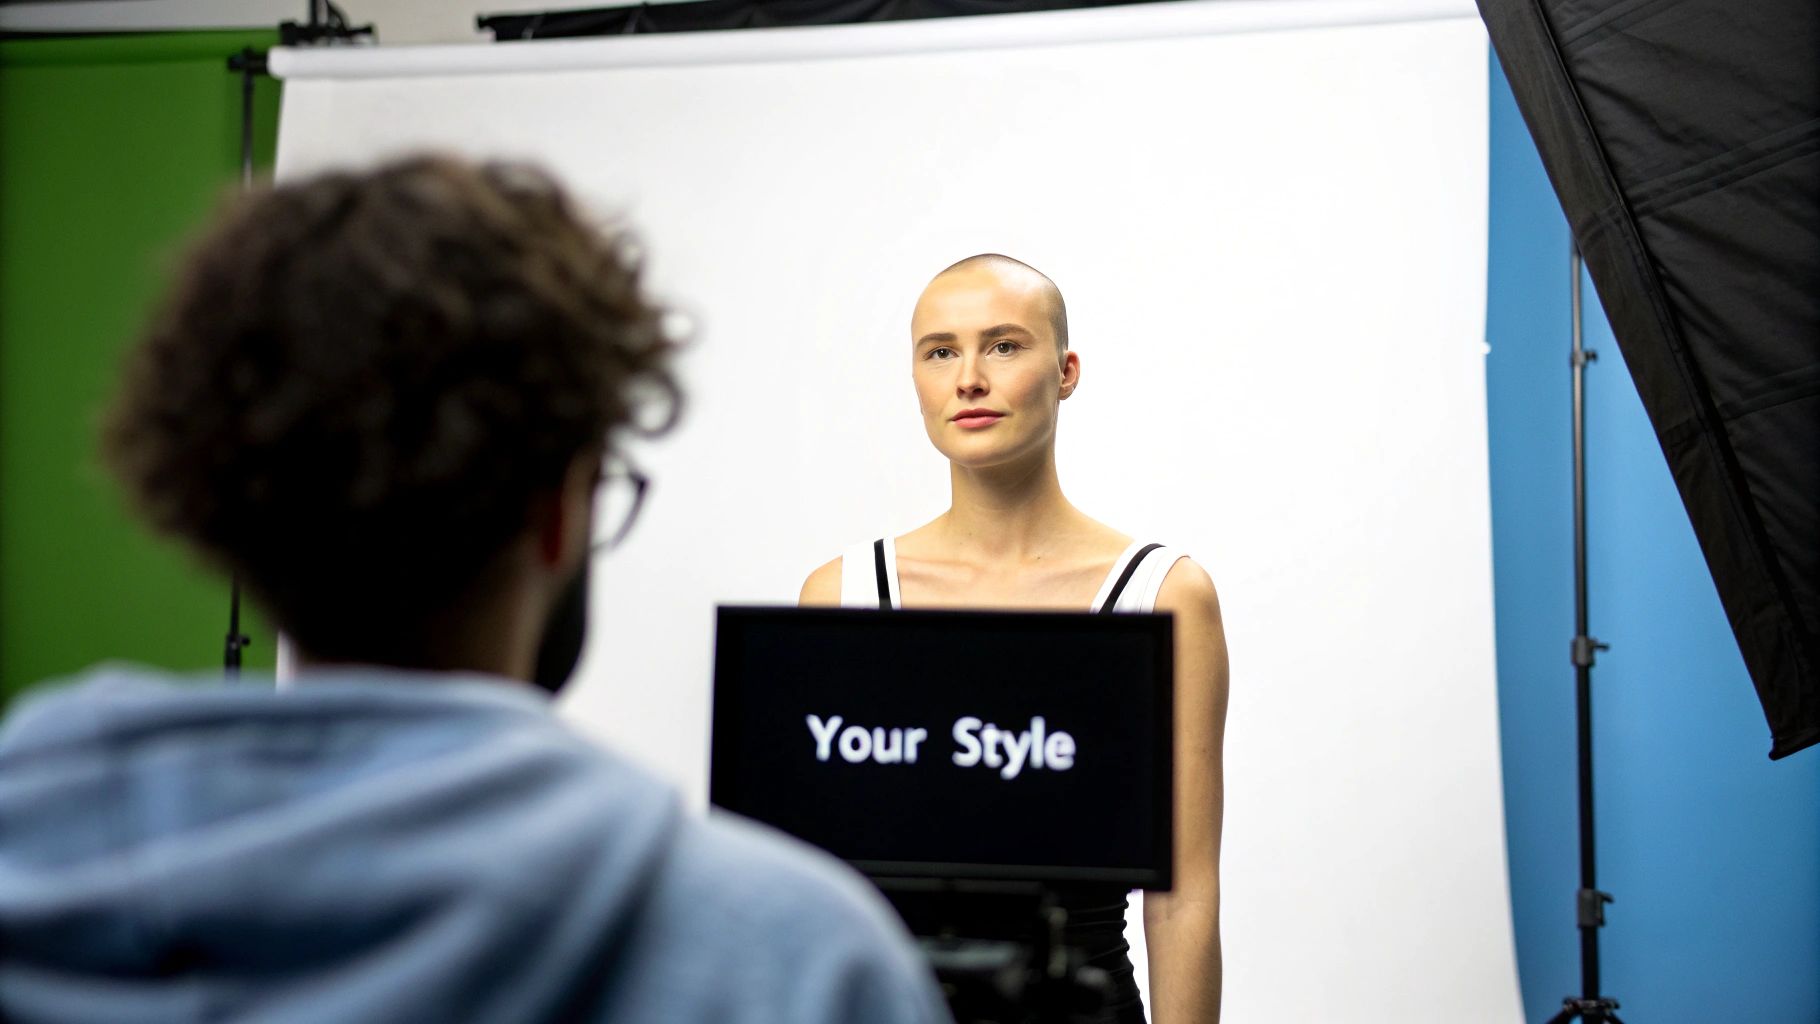
Alright, the AI has done its job and built your base model. Now for the fun part. This is where you go from a technically correct 3D model to a digital twin that actually feels like you. ViewPrinter’s studio is loaded with tools to let you tweak every little detail, moving way beyond that initial scan.
This is the step that makes all the difference. It's what turns a simple digital copy into a digital identity you can use anywhere. For instance, a real estate agent needs a sharp, professional look for virtual tours, but a streamer wants something more laid-back for their audience. The magic is being able to flip between those styles on the fly.
Building Your Digital Wardrobe
The first place you'll probably want to explore is the digital wardrobe. It’s essentially a huge closet packed with clothing for just about any situation you can think of.
You can sort through different collections to pull together outfits that make sense for what you're doing.
- Professional Attire: Think suits, blazers, and blouses. Perfect for those corporate webinars or formal virtual keynotes.
- Casual Wear: This is your everyday stuff—t-shirts, jeans, and hoodies for relaxed social media videos or just hanging out in the metaverse.
- Activewear: Need to lead a virtual workout or create fitness content? Grab some functional, sporty gear here.
Think of each outfit as a specific tool for a specific job. A solid wardrobe means your one avatar can represent you in wildly different settings, saving you from having to create a realistic avatar over and over again.
My Pro Tip: Don't settle for just one look. I always recommend creating and saving at least three core outfits: one for professional settings, one for casual content, and one that’s a bit more creative or personal. That way, you're ready for whatever project pops up.
Fine-Tuning Hair and Accessories
Clothing is a huge part of it, but the smaller details are what really sell the look. You can play around with different hairstyles, colors, and accessories to nail your digital persona. And it’s not just about changing the color; you can adjust lengths and styles to match your look right now—or try something completely different.
Accessories are also clutch for adding that extra layer of personality.
- Eyewear: Add your signature glasses or a pair of shades.
- Jewelry: Sometimes, a subtle pair of earrings or a necklace is all it takes to make it feel authentic.
- Headwear: From a professional headset for a presentation to a casual cap for a stream, the right headwear can complete the scene.
This is the kind of detail that takes your avatar from a generic model to a believable extension of who you are. When you put a little thought into these elements, you end up with a digital identity that’s not just accurate, but genuinely expressive and ready for any virtual world.
Bringing Your Avatar to Life
Okay, so you've just crafted a fantastic-looking avatar. Now for the fun part: putting your digital twin to work. The real magic of having a high-quality avatar is just how versatile it is. It can be your stand-in for video calls, the consistent face of your brand on social media, or even your persona in a virtual world.
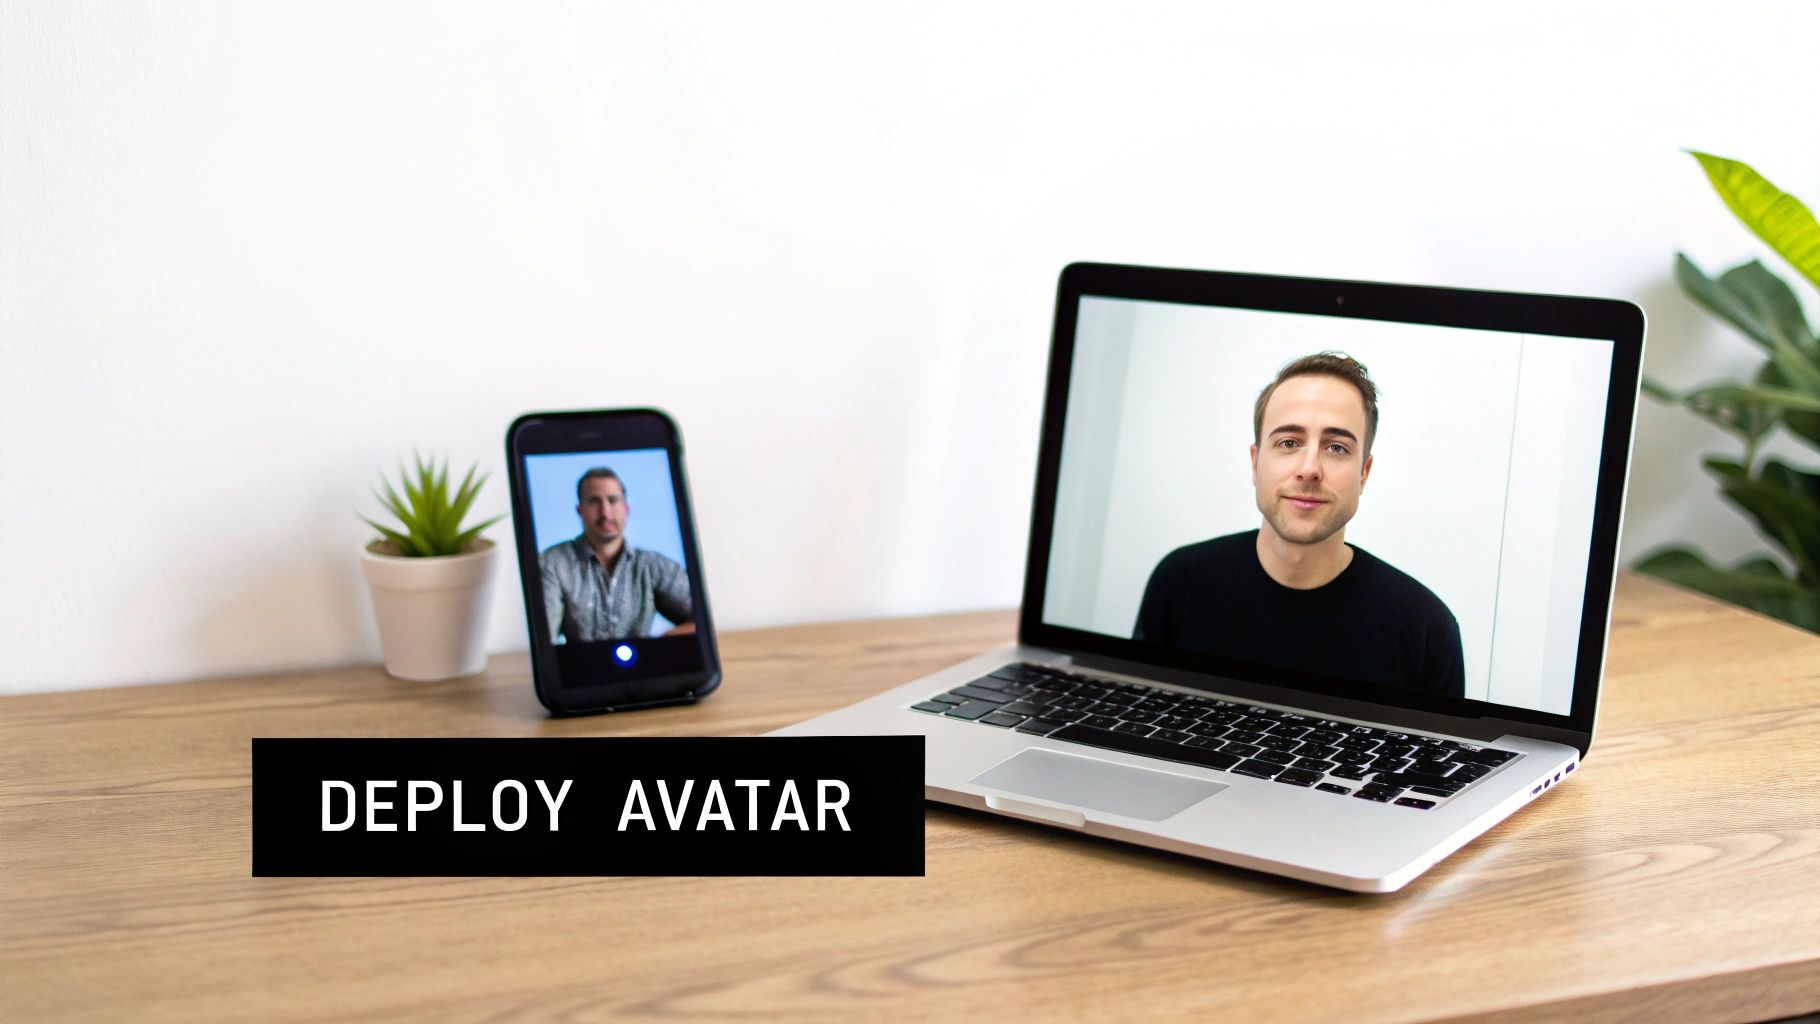
Think of it as a multipurpose digital asset you can deploy anywhere.
I've seen marketing managers use their avatars to create dozens of personalized outreach videos in a single afternoon. This isn't just a time-saver; it guarantees that every single video has a polished, on-brand look. It’s a huge leap from the old way of doing things.
Choosing the Right Export Format
The last thing you'll do inside ViewPrinter’s studio is export your creation. The format you pick really just depends on where you plan to use it. Making the right call here from the get-go ensures your avatar looks and performs exactly as it should, no matter the platform.
- For Animation and Gaming: If your avatar is destined for a game engine like Unreal or animation software like Blender, you’ll want a .FBX or .OBJ file. These formats pack in all the essential 3D model data—textures, rigging, everything you need to start animating its movements.
- For Video Content: Need to drop your avatar into marketing materials or a presentation? A standard .MP4 video file is your best bet. It’s simple and works everywhere. You can even learn how to make AI-generated video and turn your new persona into compelling content with just a few clicks.
- For VR and Metaverse Platforms: If you're jumping into a platform like VR Chat, you'll probably need a file optimized for that specific environment. This is often a variation of the .FBX format, but packaged specifically for that world.
The key is to think ahead. Before you hit that export button, decide what your avatar’s primary job is going to be. Taking a moment to do this prevents the headache of having to go back and re-render for different use cases, saving you a ton of time and effort down the line.
Still Have Questions About Making an Avatar?
Even with the best tools, it's natural to have a few questions when you're getting started. Let's tackle some of the most common ones we hear so you can jump in with confidence.
How Many Photos Do I Really Need?
You'll want to aim for a sweet spot of 10 to 20 high-quality photos. But here's the thing: it's not just about the number, it's about the variety.
To give the AI the best possible data to work with, be sure to include a good mix of angles—think front-on shots, three-quarter views, and a few profiles. Keeping your lighting consistent and your facial expression neutral will also make a huge difference in the final result.
Can I Change My Avatar's Outfit Later On?
Absolutely. The initial photo upload is really just about creating the core model of you. Once that’s done, you can jump into an editor, like the one in ViewPrinter’s studio, and start customizing.
This is where the fun really begins. You can swap outfits for a business meeting or a casual hangout, experiment with different hairstyles, or add accessories. It's all about making your digital twin truly yours.
What Do People Actually Use These Avatars For?
We see realistic avatars being used in all sorts of creative ways. A few of the most popular uses are:
- Virtual Meetings: Showing up to every call looking polished and professional.
- Marketing Videos: Creating tons of video content without ever stepping in front of a camera.
- Brand Mascots: Acting as the face of a brand on social media and in ads.
- Gaming & Metaverse: Representing yourself in virtual worlds and online communities.
At the end of the day, they give you a consistent, professional digital presence you can use just about anywhere.
Ready to create your own digital double? Head over to the ViewPrinter avatar studio and build your realistic avatar in just a few minutes.