create realistic avatar: A guide to lifelike profiles
Learn how to create realistic avatar in this concise guide. Explore top AI tools, design tips, and platform optimization for standout profiles.
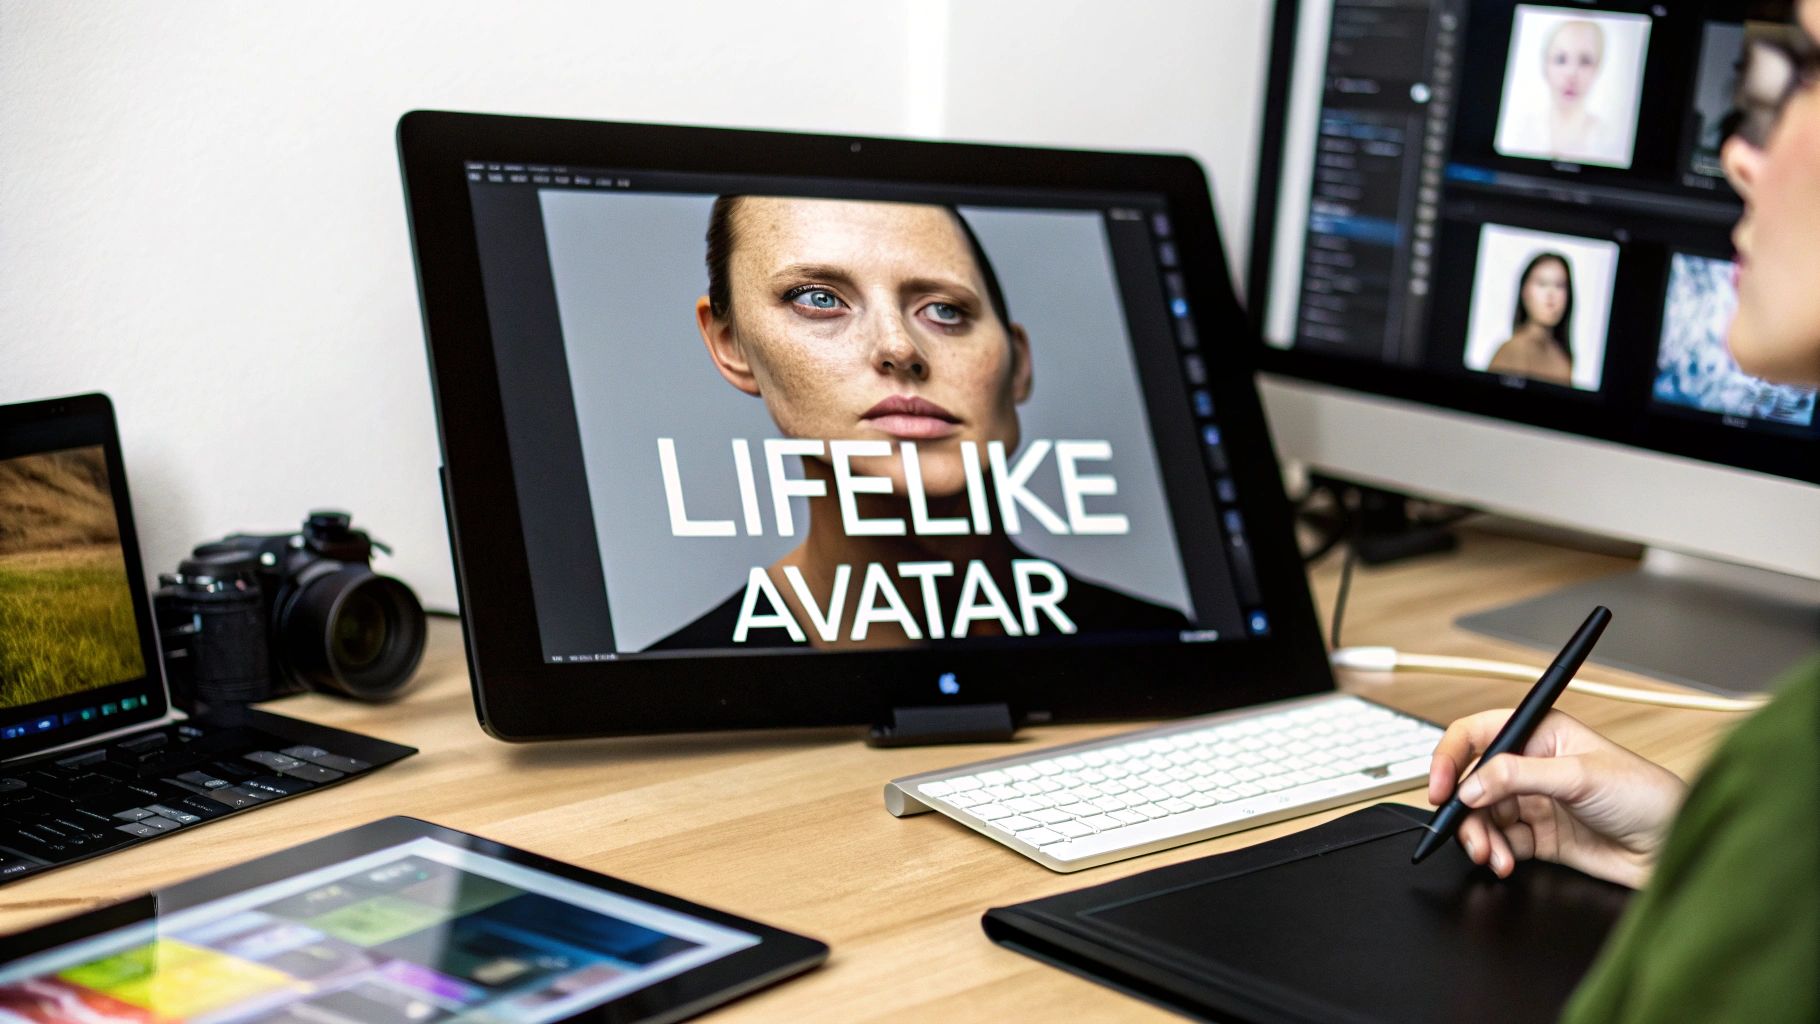
To get started on a realistic avatar, you need three things: a clear idea of what it’s for, some solid reference photos, and the right AI tools for the job. The basic flow is simple: define your avatar's look and feel, feed high-quality pictures into a platform like ViewPrinter's Avatar Studio, and then get hands-on with the details—tweaking skin textures, refining facial features, and dialing in the realism until it feels just right.
The Rise of Your Digital Twin
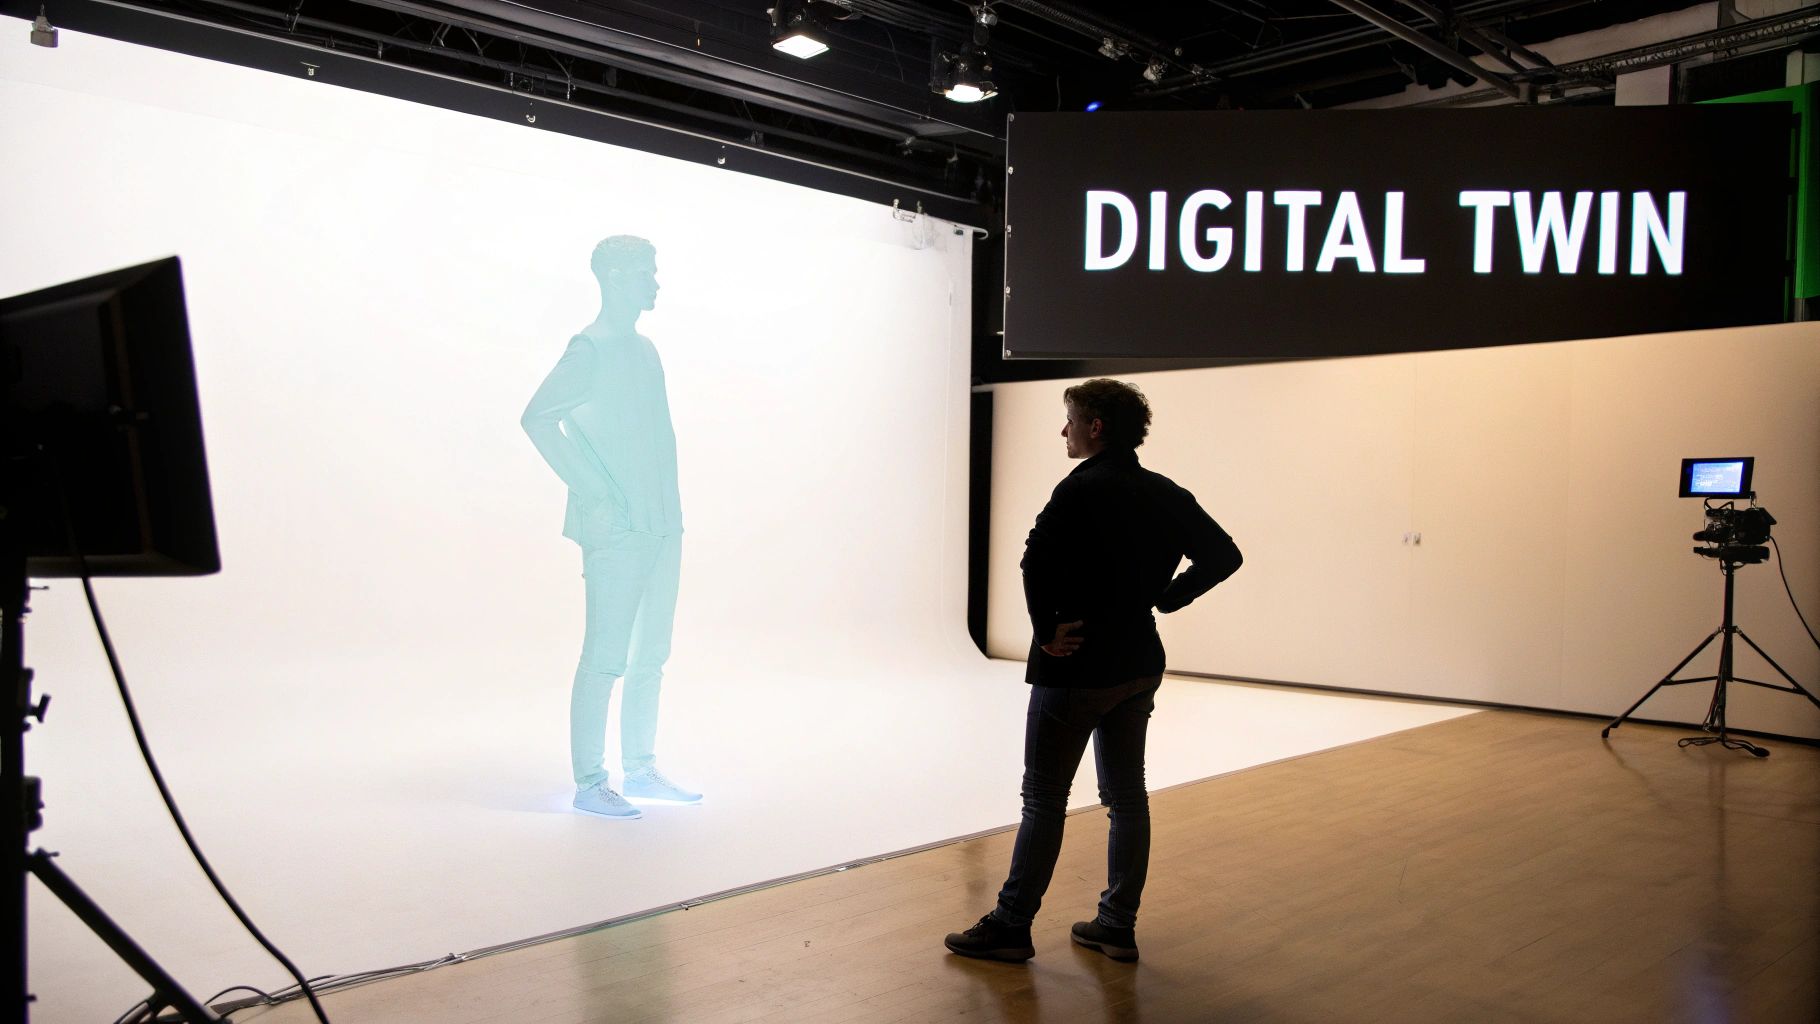
We've come a long, long way from the pixelated icons and generic characters of the early internet. Today, a realistic avatar is essentially your digital twin—a true-to-life representation that can network at a virtual conference, jump into an immersive game, or become the face of your brand on social media.
This isn't just about looking cool online. It’s about forging more authentic, genuine connections in digital spaces. What started as a niche for gamers is quickly becoming the standard for professionals, creators, and businesses who want to bridge the gap between their physical and online selves.
The Technology Powering Realism
So, how did we get here? This new wave of digital identity is driven by a perfect storm of powerful tech. AI and advanced 3D rendering engines are at the heart of it, completely changing the game. You no longer need a degree in 3D modeling or access to expensive software to create a convincing avatar.
A few key technologies are working together to make this all possible:
- Artificial Intelligence: This is the brain of the operation. AI algorithms scan your reference photos, learning your facial structure, skin tone, and unique features to generate a base model that's shockingly accurate from the get-go.
- Photogrammetry: Think of this as 3D scanning with a camera. The tech stitches together multiple photos of a person to create an incredibly detailed 3D model, capturing all the little nuances that are almost impossible to sculpt by hand.
- Advanced Rendering: This is where the magic really happens. Modern graphics engines mimic how light bounces off surfaces like skin and hair, adding the subtle imperfections and reflections that trick our brains into seeing something as real.
A realistic avatar is more than a digital stand-in; it's a gateway to deeper immersion. When your online representation truly reflects you, interactions become more meaningful and memorable, whether in a virtual meeting or a gaming world.
A Rapidly Growing Market
This explosion in popularity isn't just a feeling; the numbers back it up. The global market for virtual avatars was pegged at around $1.8 billion back in 2022 and is on track to hit $10.5 billion by 2028. That’s some serious growth, fueled by everything from gaming and social media to the rise of VR platforms.
Even more telling, data shows that 78% of users in virtual environments feel more engaged when they're interacting with avatars that look convincingly human. People want that personal connection. Discover more insights about virtual avatar market growth to see just how big this is becoming.
Ready to create your own digital self? Let's walk through the practical steps to join the movement.
Planning Your Perfect Digital Self
Jumping straight into an avatar creator without a plan is like trying to build a house without a blueprint. Sure, you'll end up with something, but it probably won’t be the digital self you were picturing.
This first step is what separates a generic, uncanny-valley puppet from a convincing digital twin. To get it right, you need to define your avatar’s purpose and gather the right reference materials before you even open the software.
So, start with a simple question: what’s this avatar actually for? An avatar for a professional LinkedIn profile needs a completely different vibe than one for a high-fantasy Twitch stream. Is it a friendly digital assistant for your brand’s website, or a hyper-realistic stand-in for VR meetings? The purpose dictates everything, from clothing to facial expressions.
Gather High-Quality Reference Photos
Once you know the why, you can gather the what. AI tools are incredibly smart, but their output is only as good as the images you feed them. Think of it like hiring a portrait artist—you’d give them the best, clearest photos you have.
For the best results, you'll need:
- Even, Natural Lighting: Harsh shadows are the enemy. The best trick is to stand facing a window on a bright day. You'll get soft, diffused light that shows all your features clearly without any weird shadows.
- Multiple Angles: One selfie isn't enough. You need to give the AI a full 3D understanding of your face. Take photos from the front, both profiles (left and right), and a few three-quarter angles.
- Neutral Expressions: A smiling photo is nice, but for the AI, a neutral expression with your mouth closed is the perfect baseline. This lets it capture your resting features accurately, which makes animating expressions later on much, much easier.
Define Your Avatar's Core Characteristics
Beyond just photos, think about the persona. Is this avatar supposed to look your current age, or maybe a slightly younger or older version of you? What’s the style—casual, professional, maybe even a little futuristic?
Nailing these details beforehand is the key to creating a final result that feels authentic and aligned with your goals.
The most compelling avatars are the ones with a clear identity. Defining traits like age, style, and persona before you start is the secret to creating a digital self that feels intentional and believable, not just an accidental look-alike.
A lot of the same principles that go into creating memorable characters for games apply here. To really get this planning phase right, check out this ultimate guide to game character design. This groundwork is what ensures your avatar doesn't just look realistic, but feels like a true extension of you.
Choosing Your Avatar Creation Toolkit
Alright, you've got your blueprint ready. Now for the fun part: picking the tools to actually build your digital twin.
The options out there are pretty vast, ranging from dead-simple AI platforms to professional-grade 3D modeling software that could melt your computer. The path you choose here really sets the tone for the whole project.
For most people—especially if you're not a 3D artist by trade—the clear choice is an AI-powered tool. Platforms like ViewPrinter's Avatar Studio are designed to do the heavy lifting for you. They skip the brutal learning curve of traditional software and generate a fantastic base model from your photos, which you can then tweak to perfection.
On the other side of the coin, you have the behemoths: software like Blender or ZBrush. These tools give you god-level control over every single polygon, but they demand a serious time investment and a high degree of technical skill. This is the domain of pro artists and developers crafting characters for blockbuster games or movies.
To make this choice a bit easier, let's break down the common options.
Avatar Creation Tool Comparison
The "best" tool really depends on what you're trying to achieve, how much time you have, and your comfort level with tech. This table gives you a quick snapshot of the landscape.
| Tool Type | Best For | Skill Level | Typical Cost | Realism Potential | | :--- | :--- | :--- | :--- | :--- | | AI Generators (e.g., ViewPrinter) | Beginners, marketers, fast results | Novice | Free to $$ | High | | Game Character Creators | Stylized gaming or social avatars | Beginner | Freemium | Medium | | Professional 3D Software (e.g., Blender) | Custom characters, film, advanced games | Expert | Free to $$$$ | Very High | | Photogrammetry Software | Hyper-realistic digital doubles | Intermediate | $$ to $$$ | Extremely High |
Ultimately, AI tools hit the sweet spot for most users, offering an incredible balance of quality, speed, and ease of use.
Getting Started With an AI-Powered Tool
Let's assume you're going the AI route since it’s the most direct path for creating a lifelike avatar without spending weeks learning new software. The first thing you'll do is sign up, which is usually painless.
This simple infographic sums up the prep work you should have already done before you even get to this point.
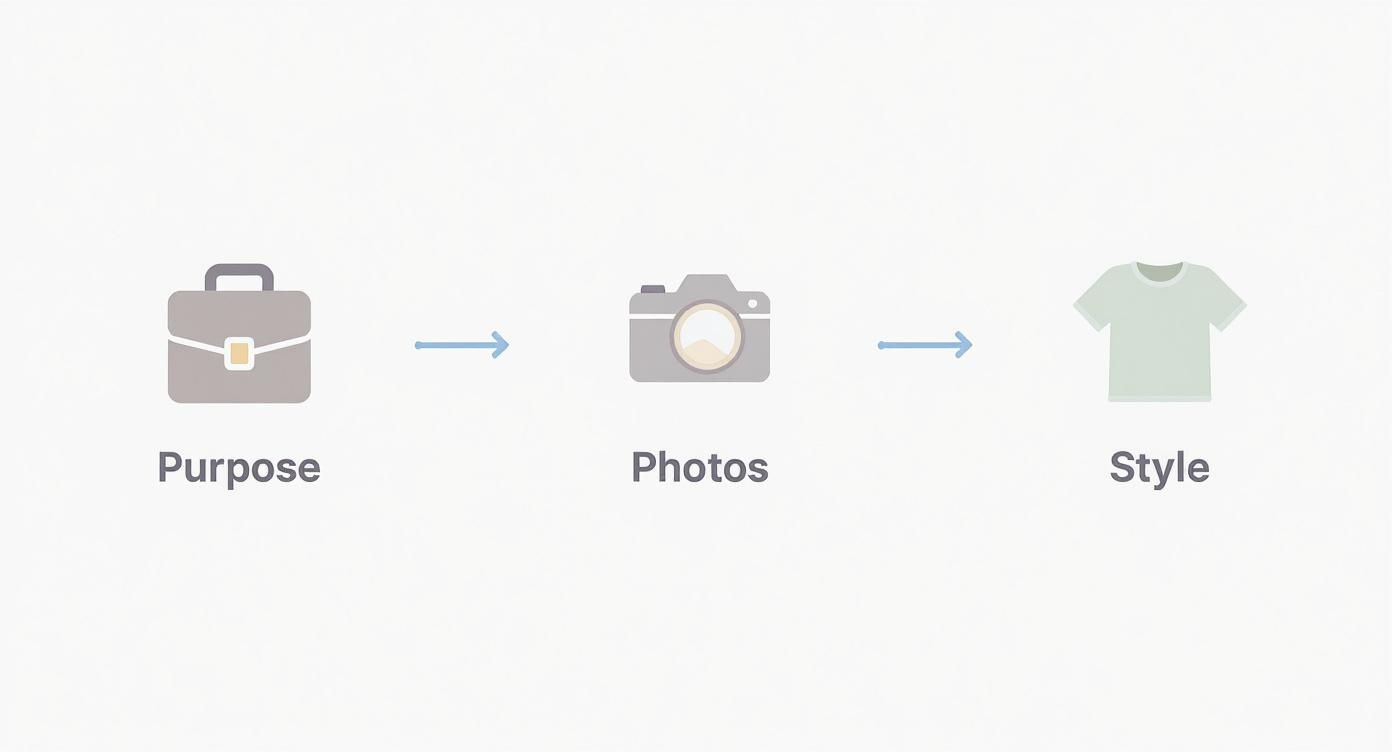
As you can see, a great avatar begins long before you touch any software. It starts with knowing its purpose, snapping good reference photos, and picking a style.
Once you’re in the tool, it's time to feed it the photos you gathered. Remember what we talked about in the planning phase? Use clear, well-lit shots from different angles. This is where that prep work pays off big time.
Key Initial Settings
After your photos are uploaded, the AI will ask for a little direction. You'll probably see a few initial settings to configure.
This could include things like:
- Selecting a base body type or gender.
- Defining the overall style (e.g., photorealistic, semi-realistic, stylized).
- Choosing the primary output format you'll need later.
Choosing the right tool is less about finding the "best" one and more about finding the one that best fits your timeline, budget, and technical comfort level. An AI tool can produce a stunning avatar in minutes, while professional software could take weeks.
For instance, the initial setup screen in ViewPrinter's Avatar Studio is designed to be super intuitive. It walks you through uploading your images and setting the core attributes of your avatar without any confusing jargon.
These first few clicks are critical. You're essentially giving the AI its creative brief. The clearer your input, the more accurate and realistic the final model will be.
If you want to cast a wider net and see what else is out there, our guide on AI tools for content creation is a great place to explore more options.
Mastering the Details for a Lifelike Look
This is where the real magic happens. After the AI generates your base avatar, you move from technician to artist. The goal is to polish those small, humanizing details that keep your creation from tumbling into the dreaded 'uncanny valley'—that creepy feeling you get when something looks almost human, but not quite.
Your most powerful tool here is asymmetry. Think about it: no real face is a perfect mirror image. One eyebrow might sit a fraction higher, or one corner of a smile might lift more than the other. These tiny quirks are what sell the realism.
Most quality avatar tools, including a solid https://viewprinter.tech/blog/articles/ai-avatar-maker, will have sculpting sliders or adjustment tools that let you dial in these micro-adjustments. Don't just try to copy your face; really study it. The AI often smooths over the subtle planes and curves that give a face character, so adding them back in manually makes a huge difference.
Crafting Realistic Skin and Imperfections
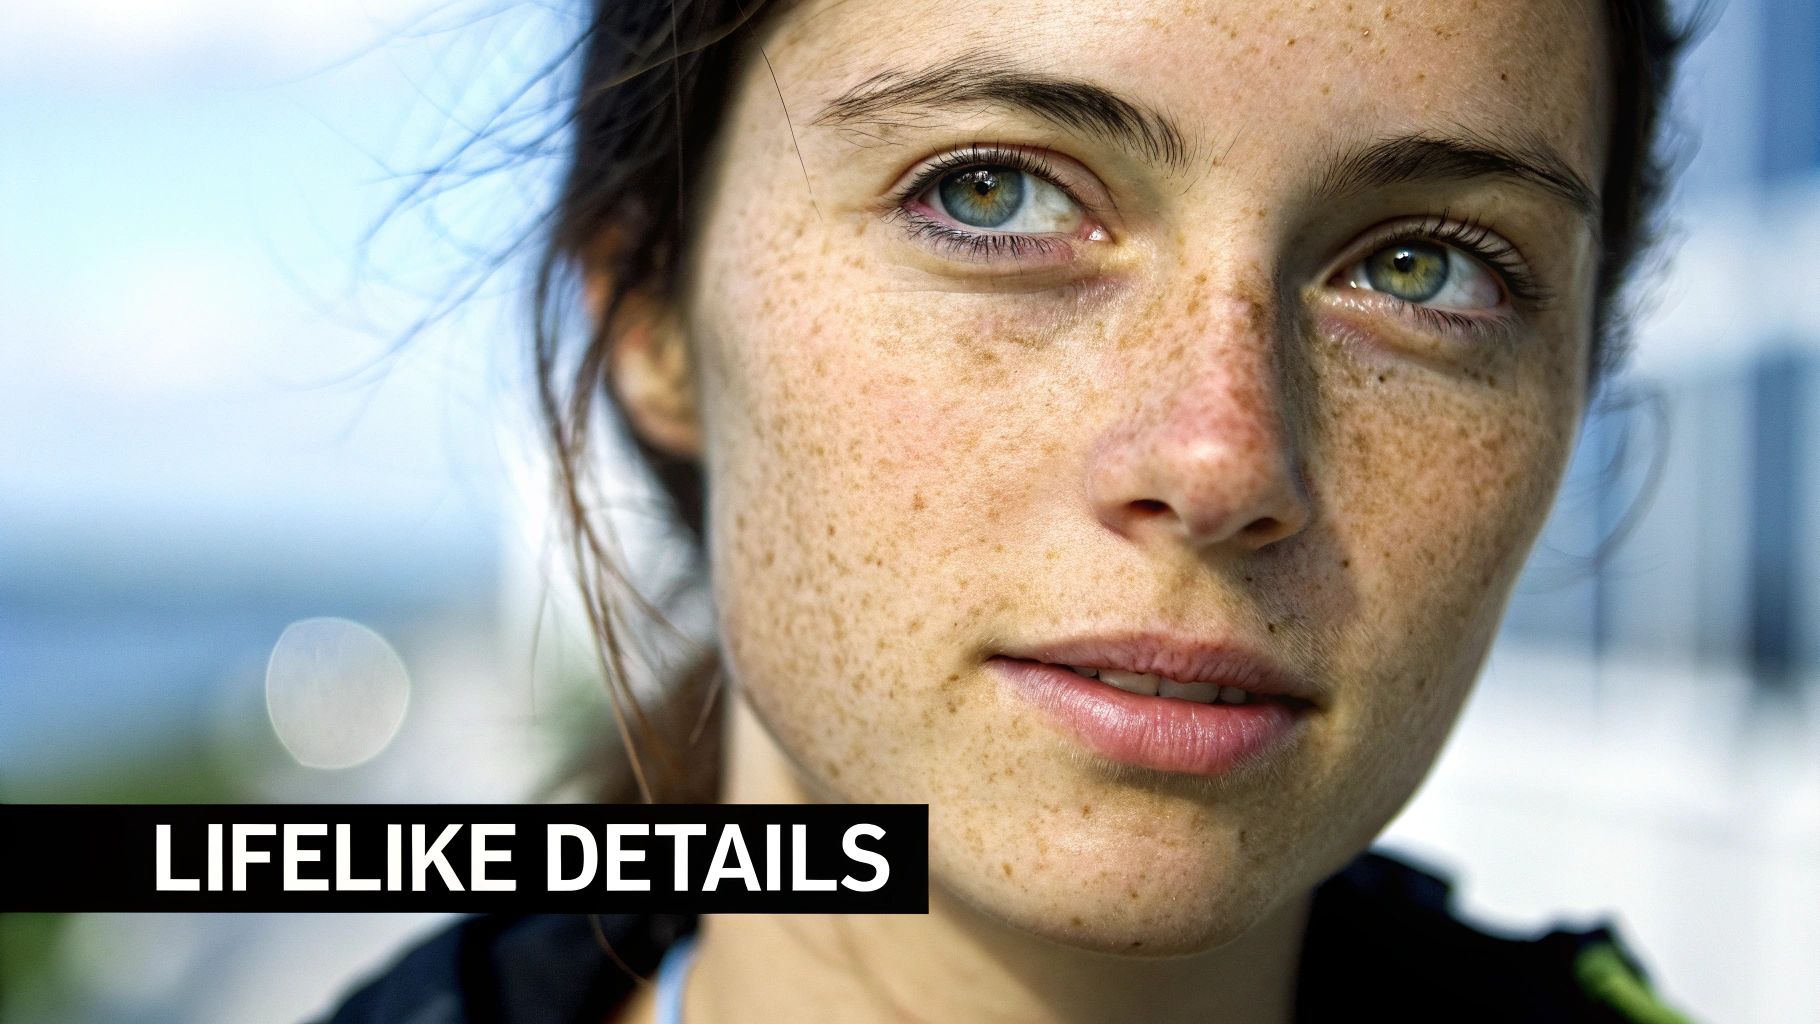
Perfectly smooth, poreless skin is an instant red flag that you're looking at a digital model. Realism is found in the imperfections.
Start by layering in a base texture with pores. You don't need anything dramatic—a faint, almost invisible pattern works much better than something over-the-top. Then, introduce subtle color shifts. Human skin isn't one flat color; it has hints of red, slight blue undertones, and tiny discolorations.
From there, start adding the things that make your avatar a unique person:
- Freckles and Moles: Place them randomly and asymmetrically. Use your own as a guide or add some for a bit of character.
- Subtle Blemishes: Even a tiny, faded mark can add a surprising dose of reality.
- Fine Lines: Barely-visible wrinkles, especially around the eyes and mouth, can make an avatar feel more expressive and alive.
If your tool lets you use text prompts for refinement, learning the right language is a game-changer. You can find excellent guides on prompt keywords to make AI images hyper-realistic that will help you tell the AI exactly what you want for those subtle textures.
The Challenge of Eyes and Hair
Eyes and hair are famously tough to get right, but they are absolutely essential for a believable result.
For the eyes, it's all about the reflections, known as "specular highlights." Dead, digital eyes often have a single, flat white dot. Real eyes have complex reflections that subtly mirror the environment. Also, make sure the whites of the eyes (the sclera) aren't pure white. A touch of off-white, or even the faintest hint of red veins, adds an incredible amount of life.
When it comes to hair, your enemy is the "helmet" look. Realistic hair is made of individual strands and clumps that catch the light in different ways. Look for a setting that allows for "flyaway" hairs—those few stray strands that break up the perfect silhouette. It’s a small touch that instantly makes the hair feel natural instead of like a plastic wig.
The chase for perfect realism is a massive undertaking. Cinematic projects like James Cameron's 'Avatar' program, which involved fusing genetic material with remote neural interfaces, were estimated to cost nearly $5 billion per unit. This just shows the incredible investment needed to flawlessly replicate life. To really appreciate the fine details, explore the complexities behind this cinematic achievement.
Getting Your Avatar Ready for Any Platform
So, you’ve meticulously crafted your digital self, and it looks incredible in the creation studio. Awesome. But the journey isn't over yet.
The final, and honestly, most critical phase is making sure your avatar actually works on the platforms you want to use it on, whether that’s VRChat, Unreal Engine, or some custom metaverse.
This step is all about technical translation. A super high-detail model that looks amazing on a beast of a PC might bring a crowded virtual world to a screeching halt. Optimization is the art of balancing that visual "wow" factor with raw performance, making sure your avatar is both beautiful and functional.
If you skip this, all that hard work can go right down the drain. A poorly prepared avatar might load in with broken textures, move like a robot, or be so demanding that it tanks the frame rate for everyone around you.
Choosing the Right File Format
First things first: you need to pick the right export format. Think of it like choosing between a JPEG and a PNG for an image; each one is built for a specific job. Your choice here is dictated entirely by where your avatar is going.
The two most common formats you’ll run into are:
- .FBX (Filmbox): This is the industry workhorse. It’s widely supported by game engines like Unreal Engine and Unity. It’s also incredibly versatile, able to store 3D models, rigging data, animations, and more. If you're building for a game or a professional app, FBX is usually the way to go.
- .VRM: This format was designed from the ground up for VR and metaverse apps like VRChat. It’s a standardized file type based on glTF, which means it bundles everything—the model, textures, and humanoid bone mapping—into a single, convenient package.
The right file format is non-negotiable. Trying to use an FBX where a VRM is required (or vice versa) simply will not work. Always, always check the technical docs for your target platform before you hit export.
Making Your Avatar Performance-Friendly
Once you’ve picked your format, the next job is to make your avatar lean and efficient. This really comes down to two key techniques: cutting down your poly count and baking your textures. High polygon counts are the number one killer of performance in real-time environments.
Polygon count reduction (or decimation) is just a fancy way of saying you’re simplifying your model's geometry without totally wrecking how it looks. The goal is to get the number of polygons down to meet the platform's guidelines. VRChat, for example, has specific performance ranks tied directly to polygon limits.
Texture baking is another game-changer. Instead of making the game engine calculate complex lighting, shadows, and material details on the fly, you "bake" all that information into a single, flat image file (a texture map). This slashes the computational load and leads to much smoother performance. It’s like pre-solving a math problem so the computer doesn’t have to do the work over and over again.
These technical steps are just as important as the initial design. This process is a lot like the final production stages when you create an AI influencer, where performance and platform compatibility are what separate success from failure. Your avatar needs to be ready for its digital stage.
Have Questions About Creating Your Avatar? We've Got Answers
Stepping into the world of avatar creation always brings up a few common questions. It doesn't matter if you're firing up a tool for the first time or you're a seasoned pro looking to sharpen your skills—getting the right info upfront makes everything run smoother. Let's dig into the questions we hear most often.
A big one is always about time. How long does this actually take? The great news is, modern tools have completely changed the game here. With an AI-powered platform like ViewPrinter's Avatar Studio, you can get a surprisingly realistic base model done in under 15 minutes. From there, you can spend as much time as you want refining the little things—the exact skin texture, the way the hair falls—but getting that first version ready is lightning-fast.
How Can I Make an Avatar That Genuinely Looks Like Me?
The secret to a true digital twin? It all comes down to your reference photos. The AI needs clear, well-lit shots from a few different angles—think front, side, and three-quarters—to really map out your facial structure. Keeping a neutral expression in your photos is also key, as it gives the AI a clean slate to work from.
Once the AI has done its thing, it's time for you to add the human touch. The most important part is asymmetry, because no real face is perfectly symmetrical. Dive into the sculpting tools and make those tiny adjustments that sell the likeness:
- Maybe one eyebrow sits just a little higher than the other.
- Perhaps one corner of your mouth quirks up when you smile.
- Tweak the nostril size or the line of your jaw to match your own unique features.
These tiny imperfections are exactly what you need to create a realistic avatar that feels like you.
Everyone worries about the "uncanny valley," but it's totally avoidable. The trick is to lean into the imperfections. Real skin has pores, tiny blemishes, and different tones—it's not a perfectly smooth, airbrushed surface. Authenticity will always look better than perfection.
What Are the Best Free Tools to Get Started With?
If you're working with a tight budget, there are some fantastic free tools out there. Blender is the big one—it's an open-source, professional-grade 3D suite that won't cost you a dime. It definitely has a learning curve, but its power is practically unlimited, and the community has created endless tutorials to help you along.
For something a bit more plug-and-play, check out Ready Player Me. It's built for creating game-ready avatars that you can use across hundreds of different apps. It might not be designed for the same level of hyper-realism, but it’s an incredibly simple way to get your feet wet. Of course, many platforms, ViewPrinter included, offer free trials or starter plans so you can access powerful AI tools without paying upfront.
Ready to stop wondering and start creating? The ViewPrinter avatar studio has the AI tools you need to build a stunningly realistic digital twin in just a few minutes. Start your free trial today and see your digital self come to life.