How to Create Avatar: Easy Steps to Make Your Digital Self
Learn how to create avatar easily with AI. Discover simple tips on how to create avatar using photos and prompts to craft your digital look.
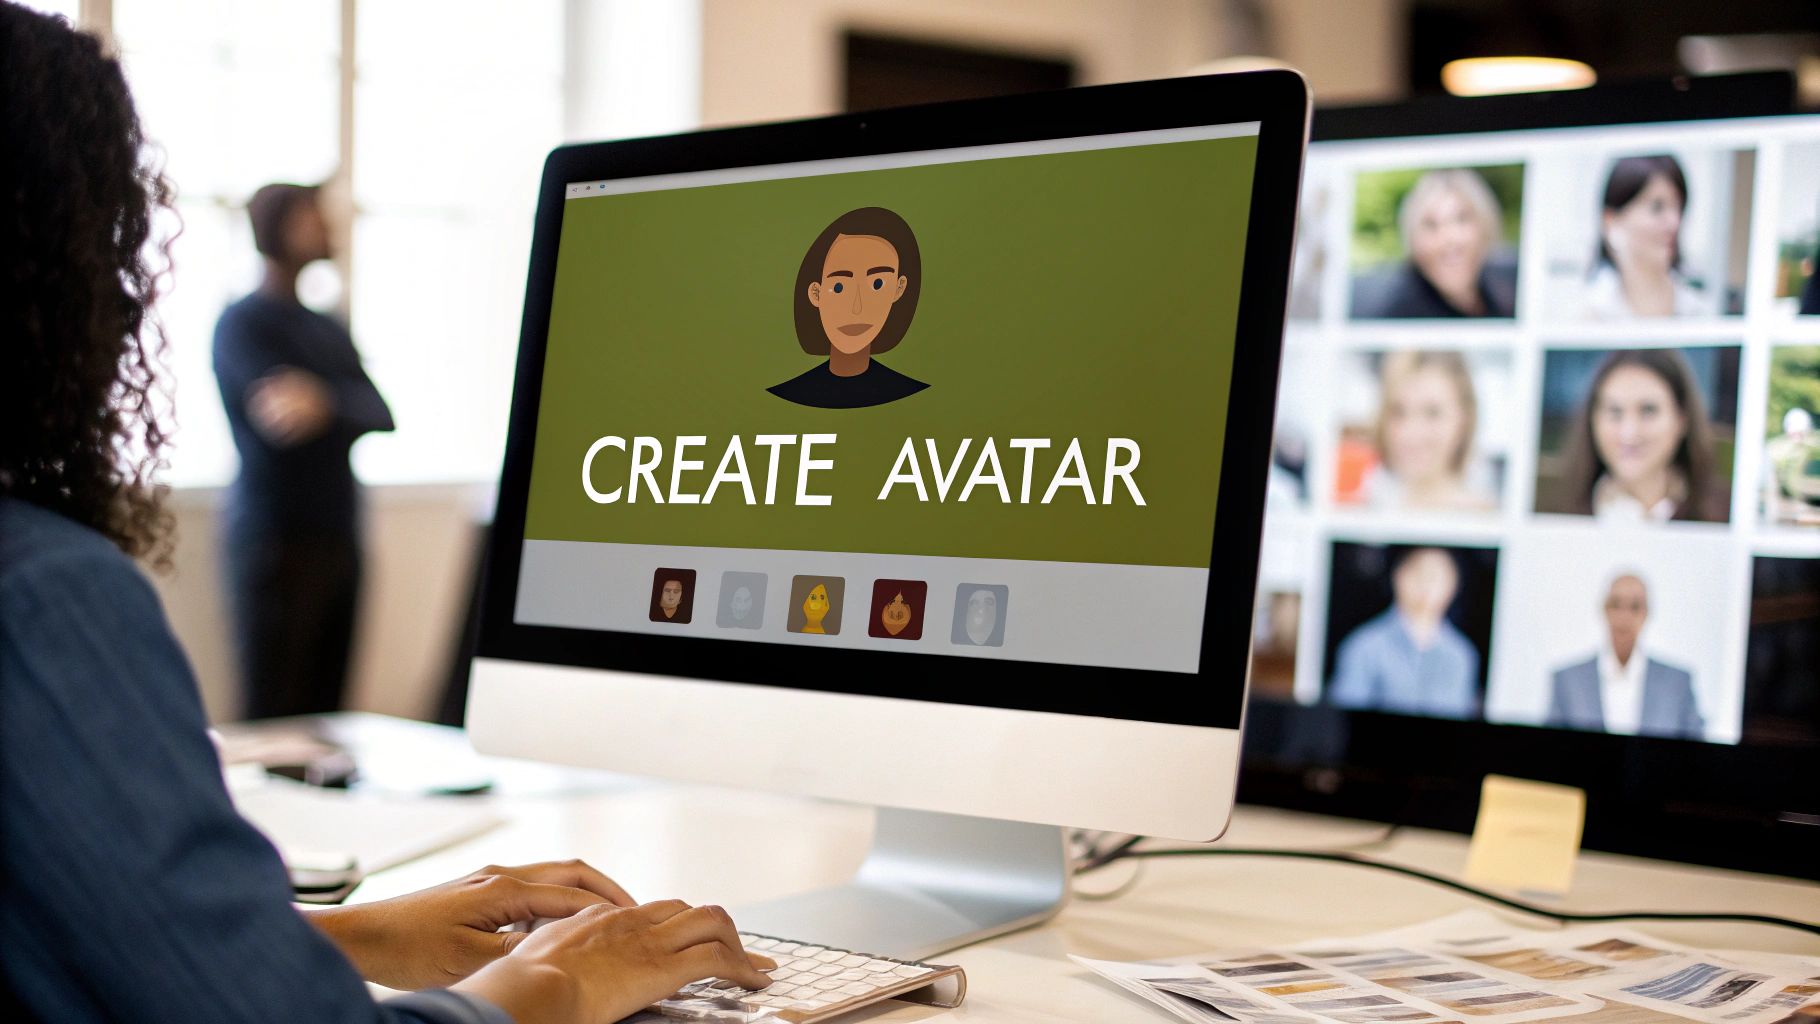
Ever wonder how people get those incredible, artistic versions of themselves for their social media profiles? It's not magic, and you don't need to be a graphic designer. With tools like ViewPrinter’s AI studio, anyone can turn a handful of selfies into a unique digital persona.
This isn't just about slapping on a filter. It's a creative partnership with an AI, where you're the art director.
The process really boils down to three key phases: feeding the AI the right photos, telling it what style you want with simple text, and then picking your favorite creations to perfect. Let's walk through exactly how you can create an avatar that genuinely looks and feels like you.
Your Quick Guide to AI Avatar Creation
The journey starts with you. You provide the raw material—your photos. From there, you get to decide what world your avatar lives in. Want to be a cyberpunk hero? A character from a fantasy novel? Or maybe just a stunning, photorealistic version of yourself in a dramatic setting? Your words make it happen.
Understanding The Creative Stages
To give you a clear roadmap, it helps to think about the process in a few distinct steps. Each one builds on the last, giving you more control over the final result.
Here's a quick look at how it all comes together.
Core Stages of AI Avatar Generation
| Stage | Your Action | Key Tip | | :--- | :--- | :--- | | Input Phase | Gather 10-20 high-quality photos of yourself with varied expressions and backgrounds. | The more variety you provide, the more versatile and accurate your final avatars will be. Avoid group shots. | | Direction Phase | Write simple text prompts to guide the AI's artistic style. Think "oil painting" or "cyberpunk hero." | Be specific but not overly complex. Start with a core concept and see what the AI generates. | | Refinement Phase | Review the gallery of generated images, select your favorites, and upscale them for better quality. | Don't be afraid to run the generation again with a slightly different prompt to get closer to your vision. |
This structured approach turns a complex technology into a fun and manageable creative project.
For a really popular and specific example of this in action, you can even find guides that show you how to create your custom Simpsons avatar from a photo using similar AI tools. It shows just how versatile this process can be.
The core idea is simple: You provide the likeness, and the AI provides the style. Your role is to bridge the two with clear, creative instructions.
By breaking it down this way, you're not just hoping for a good outcome—you're directing it.
The Tech Behind Your Digital Self
Before you dive in and start creating, it helps to understand what’s actually happening behind the scenes. The idea of a digital twin used to be pure sci-fi, but massive leaps in artificial intelligence have made it a reality. We're not talking about simple photo filters here; this is about sophisticated AI models that have learned from millions of images to generate entirely new, unique portraits based on your own features.
Believe it or not, the inspiration for this goes back decades. Think about the tech that powered James Cameron's film Avatar. The project was famously delayed for years simply because visual effects hadn't caught up to his vision. But as digital characters in other films became more realistic, it proved that convincing CG personas were possible, paving the way for the tools we use today.
How AI Learns Your Face
So, how does it work? Modern AI studios, including ours here at ViewPrinter, run on a concept called machine learning. When you upload your photos, you aren't just giving it a picture—you're providing a dataset. The AI analyzes this data to understand the unique geometry of your face, your typical expressions, and even how you look in different kinds of light.
This deep understanding is what allows the AI to do more than just tweak your photo. It can reimagine and reconstruct you in countless styles.
- Generative Adversarial Networks (GANs): A lot of these systems use a clever model where two neural networks essentially compete against each other. One network, the "generator," creates images, while the other, the "discriminator," tries to spot whether they're real or AI-generated. This constant back-and-forth pushes the generator to create incredibly realistic results.
- Diffusion Models: Newer models often use a different approach. They work by adding "noise" (random pixels) to an image and then learning how to perfectly reverse the process. This method gives the AI amazing control over fine details and artistic flair.
As you get more familiar with the tech powering AI avatars, it's also worth looking into the broader impact of AI on digital content and the growing role it plays in marketing.
Here's the key difference: a filter just lays an effect over your existing photo. An AI studio builds a brand new image from your likeness. That’s why the results feel so dynamic and truly personal.
This distinction is what puts so much creative power in your hands. If you’re curious about other tools that use this kind of tech, you should check out our guide on the 12 best AI tools for content creators. Once you grasp the process, you stop being just a user and start becoming a true creator.
Picking the Right Photos for Your AI
If there's one thing that will make or break your AI avatar, it's the quality of the photos you feed the machine. Think of it like giving an artist a clear reference versus a blurry, confusing one. A bad set of photos will confuse the AI, but a great one gives it everything it needs to create something incredible.
Your job is to hand over a collection of images that essentially teaches the AI what you actually look like. That means focusing on clarity, variety, and good lighting. I’ve found that somewhere between 10 to 15 solid photos is the sweet spot.
How to Build the Perfect Photo Set
The AI needs to see your face from different angles and in different moods, just like a portrait artist would. A mix of perspectives is key to getting a result that doesn't look flat or generic.
Here’s what you should aim for:
- Mix Up Your Angles: Don't just upload a dozen straight-on selfies. You need to give the AI a 3D map of your face. Include some side profiles, three-quarter views, and even a few shots looking slightly up or down.
- Show Some Emotion: A few smiling photos are great, but don't stop there. Throw in some with a neutral expression, maybe a thoughtful one, or even a genuine laugh. This variety helps your final avatar feel more dynamic and real.
- Find Good, Consistent Light: This is a big one. Stand near a window or find a spot with soft, natural light. You want to avoid harsh shadows, backlighting, or super dim rooms. When the lighting is consistent, the AI can focus on your features instead of trying to figure out what’s a shadow and what’s not.
The ViewPrinter upload screen actually gives you a great visual guide for what works and what doesn't.
As you can see, it pushes for clear, unobstructed shots from a bunch of different angles.
Pro Tip: Your phone’s portrait mode is your best friend here. It usually creates crisp, well-lit photos with a slightly blurred background, which is perfect for helping the AI zero in on your face.
A few common mistakes can really throw the AI off. Make sure you’re not wearing sunglasses or a hat in any of your photos, as they cover up key facial data. Stay away from group shots (it confuses the AI about who to focus on) and heavily filtered pics from Instagram.
If you’re interested in more stylized looks, you can learn more about how to create a cartoon avatar. Taking just a few extra minutes to choose the right photos is the single best thing you can do to ensure your final avatar is a stunning digital version of you.
Directing The AI With Creative Prompts
Alright, you've uploaded your photos. Now the real fun begins. This is where you switch from being a photo curator to an artist, and your main tool is the text prompt.
Think of the prompt as your direct line to the AI. It's a short phrase or sentence that tells the AI exactly what kind of avatar you want to create. This isn't about one-word commands. The art of a good prompt is in the details.
For instance, just typing "knight" is okay, but it leaves a lot to chance. A much better approach is to get specific. Try something like, "cinematic portrait of a noble knight in ornate silver armor, fantasy art style, dramatic morning light." See the difference? You're giving the AI clear instructions on the mood, the style, and even the lighting.
Combining Creative Elements for Unique Styles
This is where you can really start pushing the boundaries. You're not stuck with a single concept. The magic happens when you start mixing and matching different ideas to create something completely new.
I've found the best results come from experimenting with a few key elements. Try weaving these into your prompts:
- Artistic Medium: Are you after an
oil painting? Awatercolor sketch? Or maybe a slick3D renderoranime key visual? - Character Archetype: Define your persona. Are you a
cyberpunk hacker, awise old wizard, or anintergalactic explorer? - Lighting and Mood: Use phrases like
dramatic rim lightingorsoft morning glowto set the tone. Aneon-drenched cityscapecreates a totally different vibe. - Background Elements: Give your avatar a world to live in. Place them
in a lush enchanted forestoron a futuristic skyscraper rooftop.
This is the basic flow I use when building a prompt from scratch.
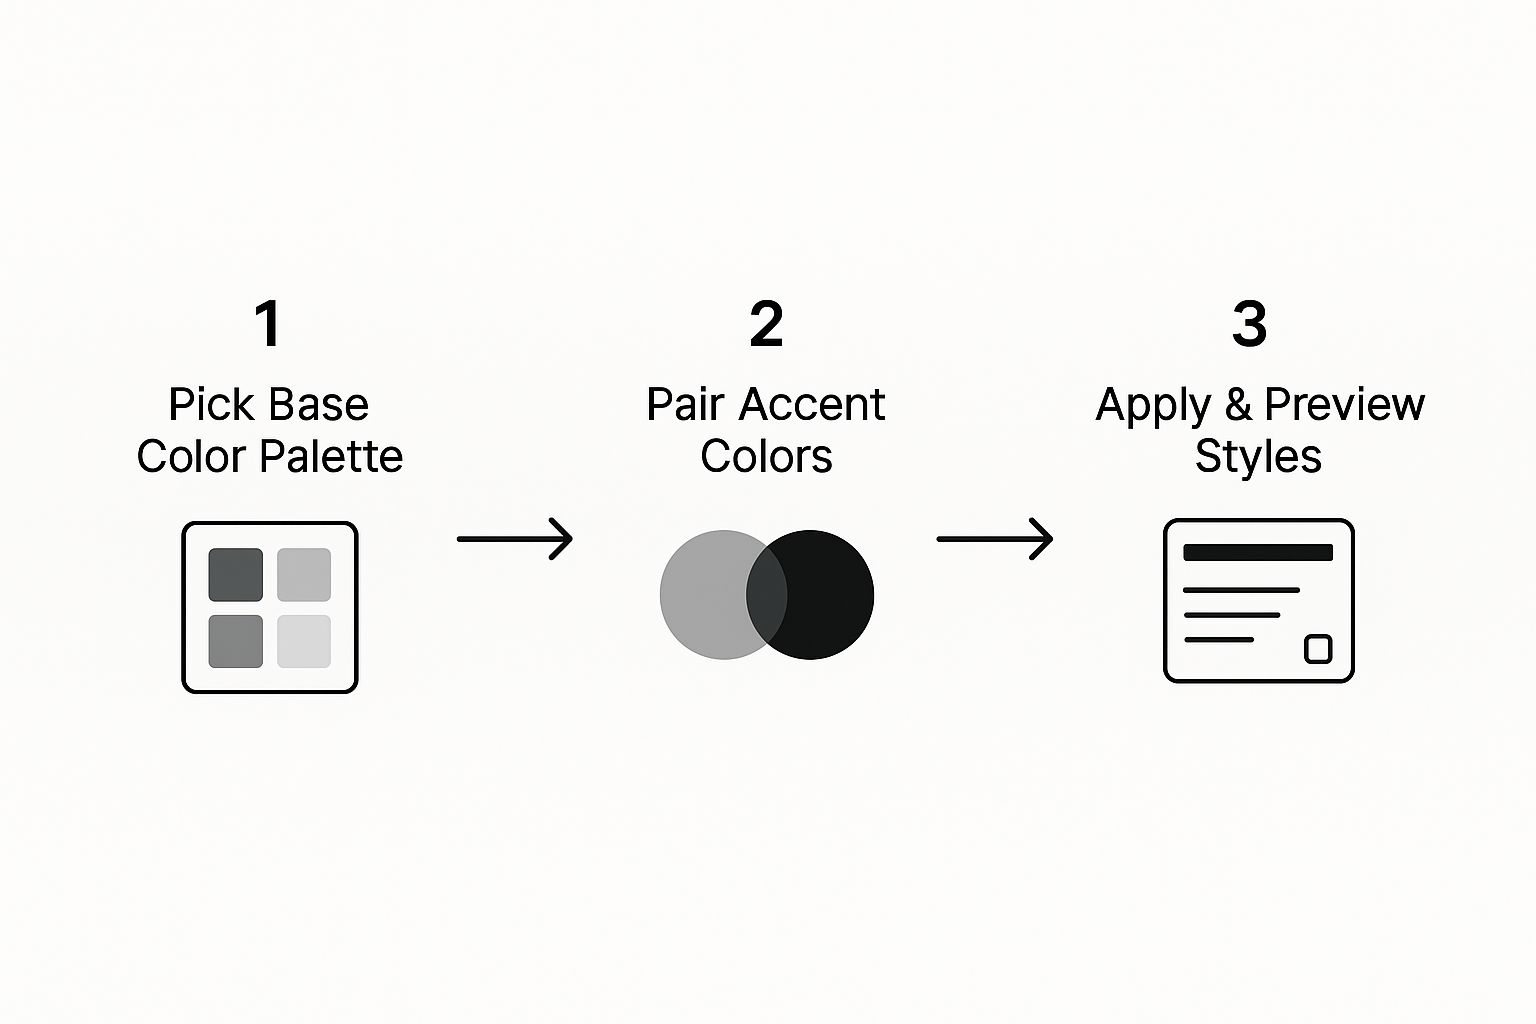
You start with a core idea, layer on stylistic details, and then let the AI bring it all together.
Seeing The Impact Of Small Prompt Changes
You'd be surprised how much of a difference a single word can make. The AI is incredibly sensitive to your language, so a tiny tweak can completely change the final image. This back-and-forth is part of the creative process—it's how you zero in on the perfect look.
The most effective prompts often act like a recipe, listing the essential ingredients for the final image. Be specific about the style, the subject, and the setting to give the AI the best possible direction.
To show you what I mean, look at how small adjustments can lead to wildly different outcomes.
Prompt Modification and Style Outcomes
| Base Prompt | Modified Prompt | Resulting Style Change | | :--- | :--- | :--- | | "A portrait of a person" | "A vintage comic book portrait of a person" | Shifts to a classic, ink-and-dot illustrated style with bold lines. | | "A portrait of a person" | "A photorealistic, high-fashion portrait of a person" | Creates a modern, glossy image reminiscent of a magazine cover shoot. | | "A portrait of a person" | "A low-poly 3D render of a person" | Generates a stylized, geometric character model from a video game. |
See? The base prompt is just a starting point. By adding a few descriptive words, you take full control of the final aesthetic. This level of control is what makes the ViewPrinter AI studio such a powerful partner in creativity.
Using and Refining Your New Avatar
Alright, the AI has done its thing and delivered a fresh batch of avatars. Now comes the fun part: picking your favorites and polishing them up for their big debut.
This isn't a step you want to rush. Take your time scrolling through each one. Look at the little details, the stylistic quirks, and the overall vibe the AI went with. You'll probably find a few that jump out at you right away.
Once you've zeroed in on the contenders, ViewPrinter’s studio gives you the tools to take them from "pretty good" to "absolutely perfect." This is more than just hitting a download button; it's about making the image truly yours.
Fine-Tuning Your Selections
Most AI platforms, ours included, don't just spit out images and call it a day. They give you powerful tools to refine the results.
Here are a couple of the most useful features you'll want to play with:
- Upscale for Detail: Ever get an avatar that looks great but is a little soft or blurry? That’s what the upscale feature is for. It boosts the resolution, making it sharp enough for anything from a professional LinkedIn profile to a high-res gaming icon. No more pixelation.
- Generate Variations: Found a style you absolutely love but maybe the expression isn't quite right? The variations tool is your best friend. It uses that image as a new jumping-off point, creating a handful of similar options with subtle differences in pose or mood.
Think of your first batch of avatars as a starting point, not the final product. Use the refinement tools to experiment and iterate until you land on a digital persona you're genuinely excited to share.
It’s almost like how James Cameron's cinematic avatars required a perfect mental link before the operator could truly inhabit their Na’vi form. You’re doing something similar here—aligning your creative vision with the AI's output. If you're curious about the sci-fi tech that inspired this, you can learn more about the film's neural synchronization process on YouTube. This kind of alignment ensures your digital self is a perfect match.
Got Questions About AI Avatars?
When you first dive into creating an AI avatar, it's totally normal to have a few questions. It’s a creative process, after all, and figuring out the little details beforehand can make a huge difference in getting a result you love.
Let's walk through some of the things people usually ask.
What Kind of Photos Should I Use?
This is usually the first question on everyone's mind. For the best results, you'll want to upload between 10 to 20 high-quality photos.
Why so many? This range gives the AI enough visual data to really learn your facial features from all sorts of different angles, expressions, and lighting. Just make sure the pictures are clear and don’t have anything blocking your face, like sunglasses or heavy shadows.
How Much Creative Freedom Do I Have?
The next big question is about style. Can you really make an avatar look any way you want?
Absolutely. The magic of AI is its incredible flexibility. Using simple text prompts, you can guide it toward almost any artistic style you can dream up.
Think bigger than just a standard portrait. You could ask for:
- "Photorealistic headshot, studio lighting"
- "Classic oil painting portrait, moody and dark"
- "Cyberpunk anime character with neon highlights"
- "Vintage comic book art, pop art style"
The more descriptive you are, the closer the AI will get to bringing your vision to life.
What If I Don't Like the First Batch?
It happens! Sometimes the first set of avatars isn't quite what you had in mind. Don't worry, that’s a normal part of the process.
If your first avatars feel a little off, the best thing to do is tweak your text prompts. Try being more specific about the style, the clothing, or even the background. You can also just generate a new batch—the AI will create completely different variations each time.
Finally, what about privacy and safety? Reputable AI studios take this seriously. They should only use your photos to train the model for your avatar and have clear policies about deleting your data afterward. Always give the privacy policy a quick scan before you upload anything.
Getting these basics down makes the whole process smoother and helps you create a fantastic avatar you’ll be excited to use. A strong visual identity is a great starting point for all kinds of projects, like learning how to create UGC content that converts.
Ready to bring your digital self to life? The ViewPrinter AI Avatar Studio makes it easy to create stunning, personalized avatars in minutes. Start creating your avatar today