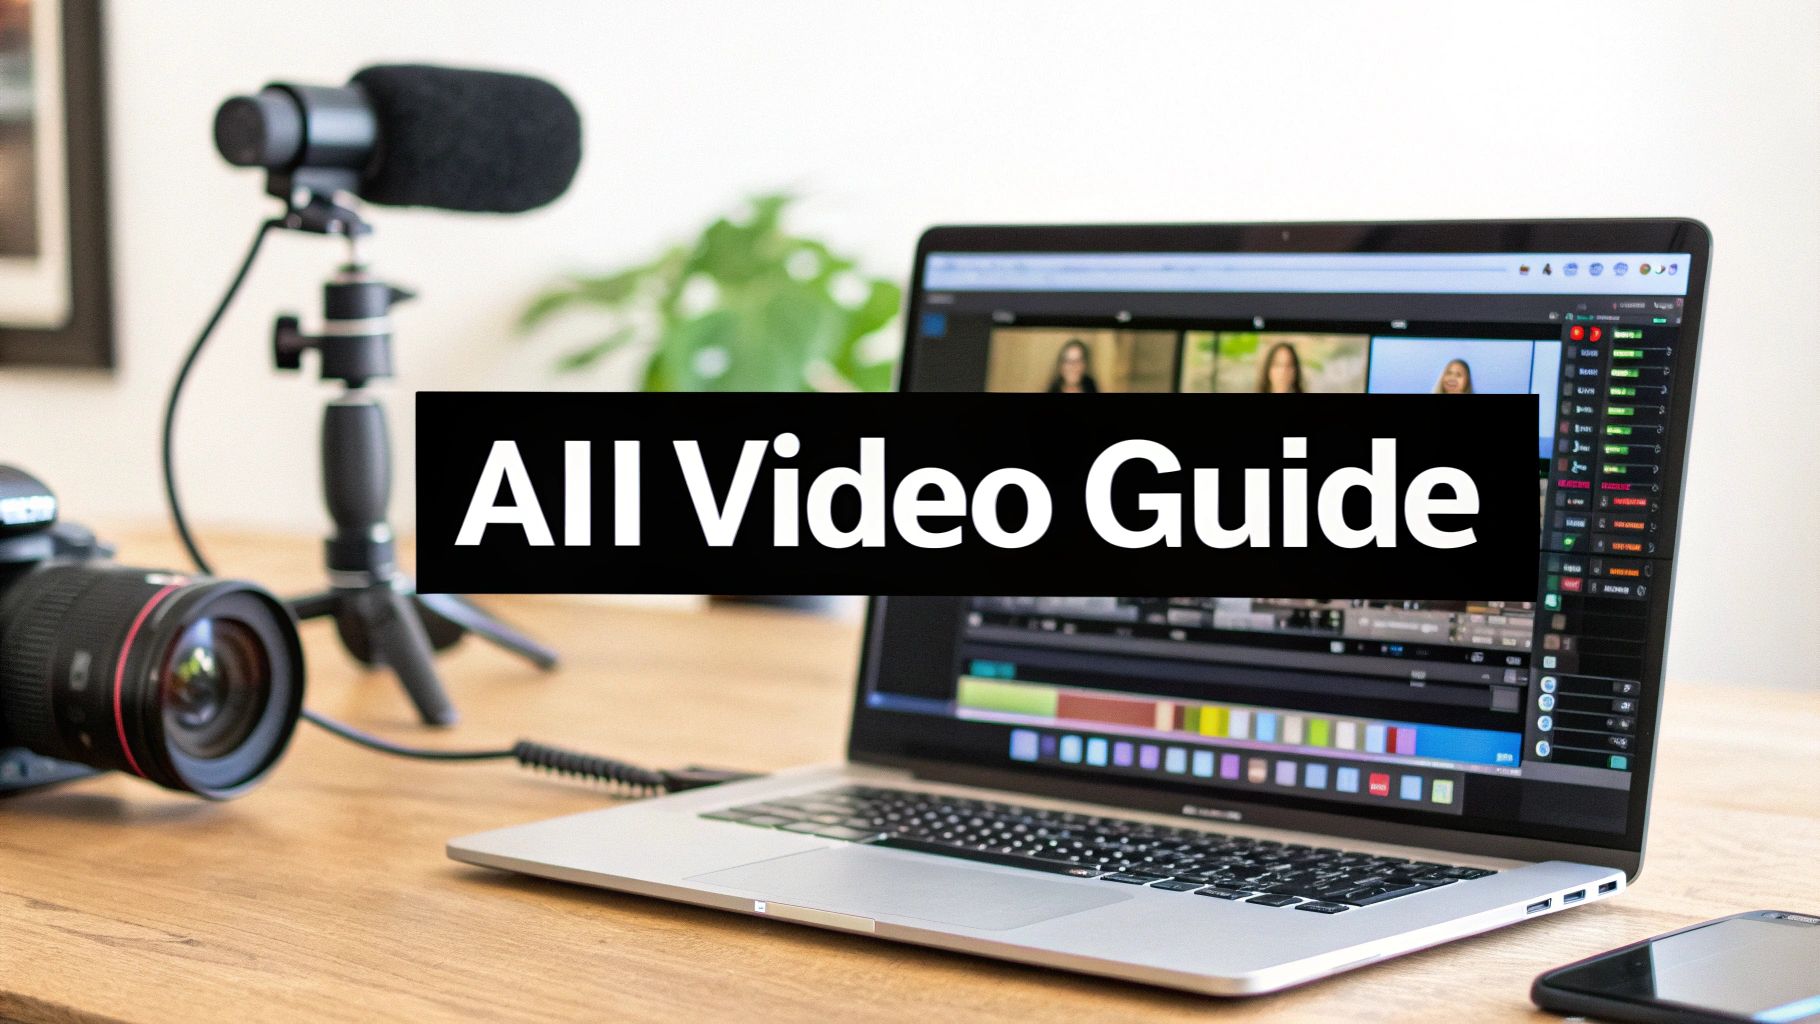
How to Make AI Videos A Guide for Modern Creators
Learn how to make AI videos with this practical guide. Discover how to use tools like ViewPrinter to transform your ideas into professional content.
You might think making an AI video is some complex, technical mess, but it's surprisingly straightforward. It really just boils down to taking a script, some visuals, and an AI presenter, then letting a tool like ViewPrinter stitch it all together. You're basically preparing your ingredients, choosing your AI avatar and voice, and then assembling the final dish in the editor.
This whole approach sidesteps the need for expensive cameras, mics, and complicated software.
Welcome to the New Way of Making Videos
This is a massive shift in how content gets made. High-quality video is no longer gatekept by big budgets or specialized skills. The days of needing a full production crew or spending weeks learning advanced editing are officially behind us.
AI makes it possible to turn a simple idea into a polished, professional video. Platforms like ViewPrinter are right at the heart of this change, and this guide is your roadmap to getting it done.
We'll walk through the entire process, from getting your assets ready and picking the right AI model to putting the project together and hitting publish. Think of this as the high-level overview to give you the confidence to dive in, no matter where you're starting from.
The Modern AI Video Workflow
The best way to think about the process is a simple, linear flow from concept to final video.
This graphic breaks down the core stages into a simple, three-part process.
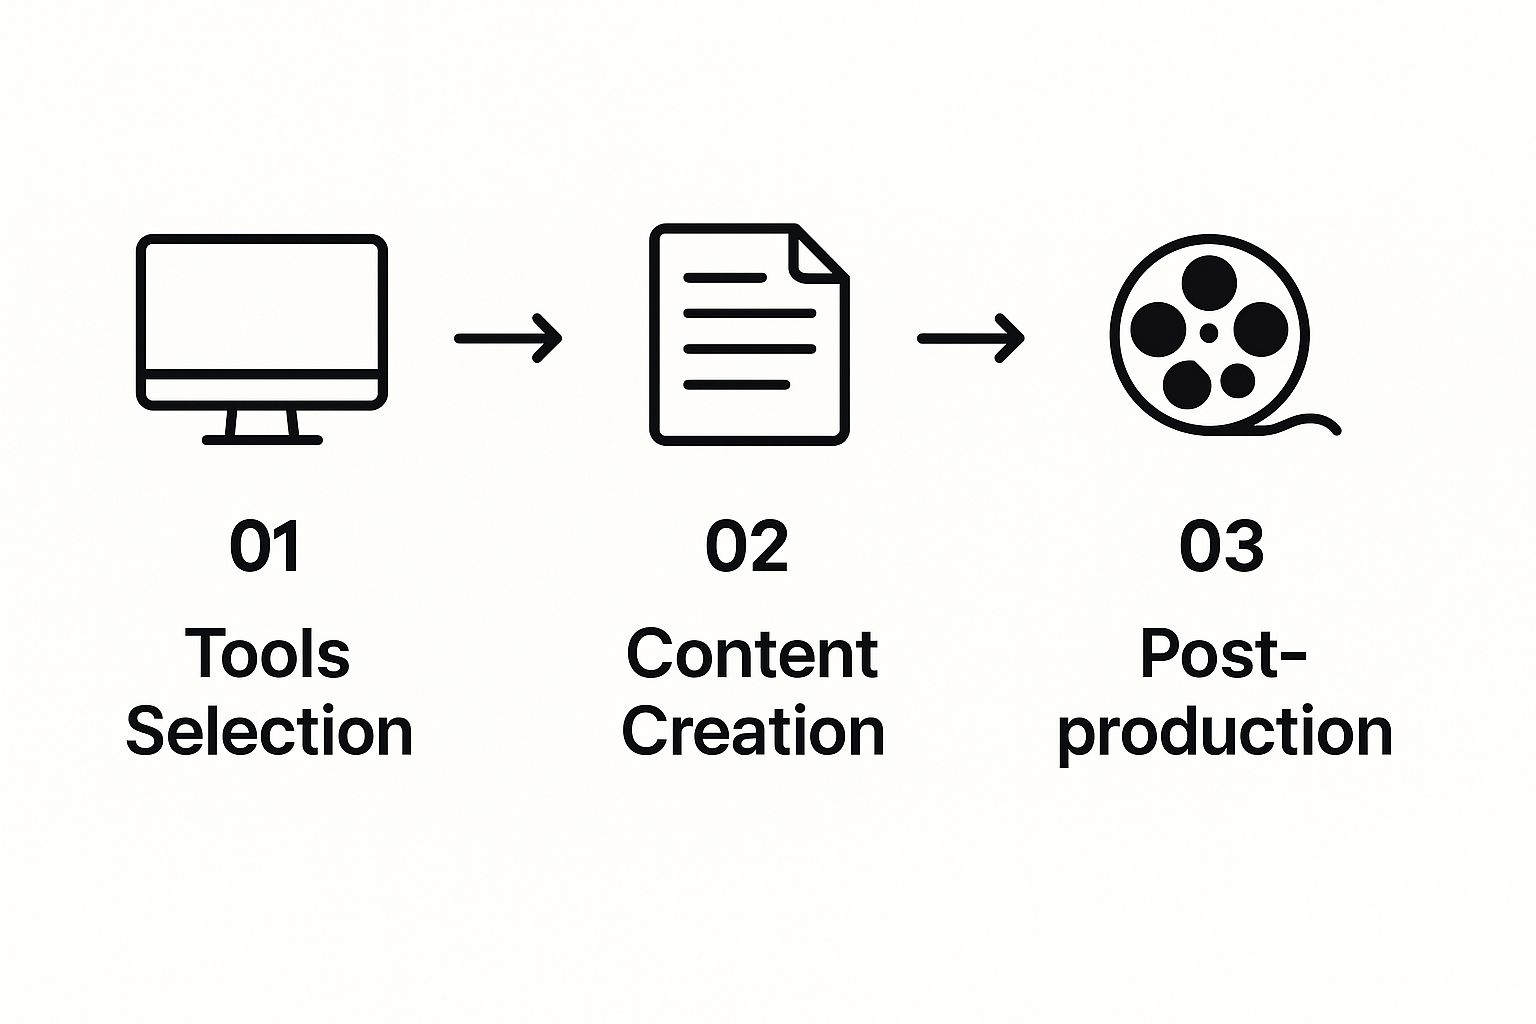
As you can see, success starts with having the right tools. From there, it's all about the actual creation, followed by a few post-production tweaks to make it shine.
The demand for this technology is exploding. The global AI video market is projected to jump from USD 3.86 billion in 2024 to an absolutely massive USD 42.29 billion by 2033. That's a staggering 32.2% compound annual growth rate. People are catching on fast.
To give you a clear picture of the journey ahead, here’s a quick breakdown of the core stages we'll be covering in this guide for creating a video inside ViewPrinter.
| Stage | Objective | Key Action | | :--- | :--- | :--- | | Asset Preparation | Gather all the raw materials needed for your video. | Collect or create your script, background images/videos, and branding elements. | | AI Model & Avatar | Select and customize your AI-powered presenter. | Choose an AI model, select a voice, and customize the avatar's appearance. | | Project Assembly | Combine all elements into a cohesive video. | Use the ViewPrinter editor to sequence scenes, sync audio, and add visuals. | | Publishing | Finalize and share your video with the world. | Render the final video and schedule it for posting on social media platforms. |
Each stage builds on the last, leading you from a folder of assets to a fully finished piece of content ready for your audience.
Understanding this new workflow is the first step. As you get comfortable with the tools, it's also worth looking at the future of AI in marketing to see the bigger picture of how this technology is changing the way we create and share content online.
Getting Your Raw Materials Ready for AI
Great AI video isn't just about the tech; it's built on a solid foundation of high-quality raw materials. Before you even touch the ViewPrinter editor, the single best thing you can do for a smooth creation process is to get your core assets—your script and your visuals—lined up and ready to go.
Think of it as your pre-production phase. This is where you set the stage for a video that actually works.
First, Nail the Script
Everything starts with the words. It's tempting to write a formal, buttoned-up script, but you have to remember: an AI is going to be reading this. The trick is to write for the ear, not the eye.
Use short, conversational sentences. Keep the language simple. A great way to test this is to read your script out loud. You'll immediately catch any awkward phrasing or complex words that will sound robotic when the AI voice generates them.
Pacing is also a huge deal. Use line breaks and punctuation like commas and periods to signal natural pauses for the AI narrator. It's a small effort, but it makes a world of difference. It’s what turns a stiff, robotic reading into a natural, engaging delivery.

Then, Source Your Visuals
Once your script is locked in, it’s time to find the visuals that will bring your words to life. The kind of visuals you pick should directly support the message and tone you're going for. Ask yourself: what will best serve this story?
Here are a few options I see people use all the time:
- Stock Footage: This is perfect for creating a dynamic, professional vibe. A marketing promo, for instance, could use energetic clips of people collaborating to match a script about teamwork.
- Custom Graphics: If you're making a tutorial or an explainer video, simple, clear graphics are your best friend. They can illustrate complex ideas without distracting the viewer.
- Your Own Clips: Nothing beats the real thing. Using your own product demos or screen recordings adds a layer of authenticity that stock media just can't replicate.
The secret to a compelling AI video is synergy. Your visuals shouldn’t just decorate your script; they should amplify it. Every image or video clip needs a purpose, directly reinforcing what the AI narrator is saying at that exact moment.
Matching Visuals to Your Narrative
Let's run through a quick example. Imagine you're making a short promo for a new mobile app. Your script has a line that says, "Managing your tasks has never been easier."
A generic shot of an office just won't cut it. What you really want is a clean screen recording of the app's intuitive interface in action, perfectly timed to that line.
This tight alignment between audio and visual is what separates mediocre content from videos that grab and hold attention. When you have a well-organized folder with your script and the corresponding visuals ready to go, assembling it all inside ViewPrinter becomes incredibly fast and efficient.
This prep work is also what ensures your final video feels cohesive and professional, not slapped together. And if you really want to take the visual side to the next level, you can dive deeper into creating a custom presenter with an AI avatar maker to make your video's look a perfect match for your brand.
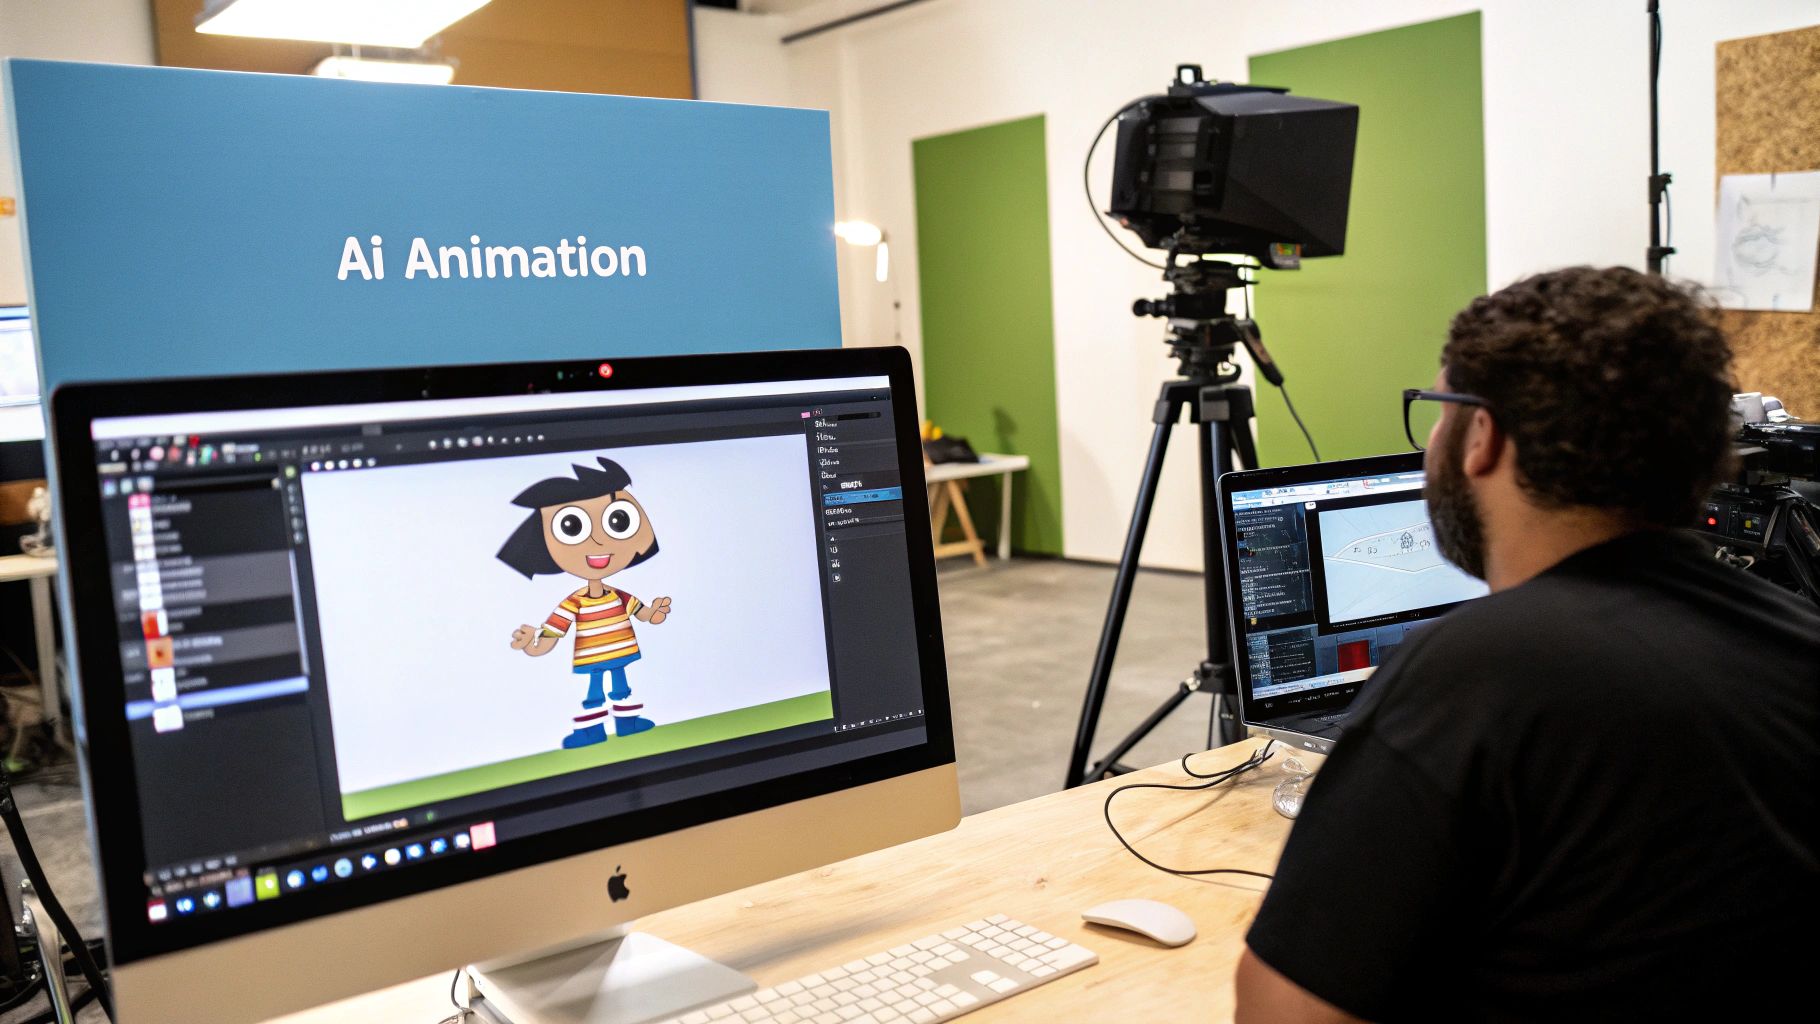
Choosing and Customizing Your AI Presenter
With your assets ready to go, we get to the fun part: giving your AI video a soul. This is where you’ll dive into ViewPrinter and shape the AI presenter, turning your script into a message delivered by a persona that actually clicks with your audience. The choices you make here are what separate a generic AI video from one that people remember.
Your presenter is the face and voice of your content, so the goal is to create someone who feels like a natural extension of your brand. A generic, one-size-fits-all avatar just feels disconnected. A thoughtfully designed presenter, on the other hand, builds trust and makes your message stick.
Finding the Right Voice
First things first: the voice. An AI voice isn't just about reading words off a page; it's about setting the entire emotional tone for the video. Before you pick one, really think about who you’re talking to and what you want them to feel.
- Social media update? Go for a warm, friendly, and slightly casual voice. It feels more relatable and approachable.
- Corporate training module? A crisp, professional, and clear voice is non-negotiable. You need authority and clarity.
- Product marketing video? You'll want an energetic and confident voice to build excitement and drive interest.
Don't rush this. I always recommend listening to several voice options in ViewPrinter against your actual script. A perfect voice match is what makes the AI feel less like a robot and more like a genuine communicator.
Designing Your AI Avatar
Once you’ve nailed the voice, it's time to build the look. This is your chance to align the AI's appearance with your brand's visual identity, creating a character that resonates with your viewers. Frankly, the deep customization available is a huge reason so many creators are now making AI videos.
A well-customized avatar is your brand ambassador. It’s the visual handshake with your audience, so keeping it consistent with your brand’s style is crucial for building recognition and credibility.
Let’s look at a couple of real-world scenarios.
- An educational series on finance for young adults: You’d probably design an avatar with approachable, smart-casual clothes, maybe against a clean, minimalist office background. The vibe is knowledgeable yet totally relatable.
- A B2B sales pitch to investors: Here, you need to project competence. A formal avatar in professional business attire, placed in a modern corporate setting, does that perfectly.
This kind of strategic customization is quickly becoming the norm. The AI video generator market was valued at USD 534.4 million in 2024 and is on track to hit USD 2.56 billion by 2032, all driven by this need for scalable, on-brand content.
Building a full-on digital persona is an art form. If you want to go even deeper, our guide on how to create an AI influencer breaks down how to build compelling characters that can carry an entire brand. No matter what, the end goal is always the same: create an AI presenter that looks and sounds like it truly belongs to you.
Assembling Your Video Inside the AI Editor
Alright, you've got your script dialed in and your visuals picked out. Now it's time to bring everything together in the ViewPrinter editor. This is where the magic happens—where all your assets combine to create a polished, professional video. Don't think of it as complicated software; it's more like a super-intuitive assembly line for your content.
The whole process is designed to be direct and efficient. You’ll upload your script, let the AI handle the narration, and then sync up all your visual elements on the timeline. It’s a clean workflow that lets you stay focused on the creative parts, not the technical headaches.
It's no surprise that the market for these tools is blowing up. This kind of growth shows just how much demand there is for simplified video production, and platforms like ViewPrinter are making high-quality video accessible to just about anyone.
Building Your Scenes
The timeline is the heart of the editor. This is your canvas for mapping out the entire video, scene by scene. To get started, just paste your script directly into the text field. The AI immediately gets to work, generating the narration based on the voice model you already selected.
From there, it’s all drag-and-drop. Pull your background footage, graphics, or screen recordings onto the timeline. The real key here is to line up each visual with the right part of the script. For instance, if the narrator says, "Our new feature simplifies your workflow," that's your cue to drop in the screen recording of that feature right at that moment.
Getting this one-to-one sync right is what makes your video feel deliberate and well-paced.
Refining the Flow and Pacing
Once the basic structure is in place, it’s time to add the finishing touches. This is where you fine-tune the little details that take a video from good to great. Your goal is to control the rhythm and make sure the viewing experience is seamless.
- Adjust Scene Timing: Don't rush it. I often add a second or two of silence between sentences to create natural pauses. This gives your audience a beat to process key information before you move on.
- Add Text Overlays: Got a statistic or a key takeaway you really want to stick? Use a text overlay. Putting bold text on screen that echoes the narration is a proven way to boost retention for important details.
- Layer in Background Music: The right audio track can completely shift the mood. Dip into the library and find something that matches the energy of your video—maybe an upbeat track for a promo or a chill melody for a tutorial.
A well-edited timeline tells a story through pacing. The timing between scenes, the emphasis on key phrases, and the underlying music all work together to guide the viewer’s attention and emotional response.
Let's go back to that product explainer video. As the AI narrator mentions a specific benefit, you could have a text overlay fade in with that benefit written in bold. Then, maybe add a half-second pause before the next sentence to really let it land. These small tweaks are what give your AI-generated video a polished, human feel.
The tools in the ViewPrinter editor are powerful, but they're also built for a specific purpose: creating effective content fast for platforms where attention is currency. For more tips on that, check out our guide on using a video editor for social media.
The boom in platforms simplifying video production is happening for a reason. The entire video creation tool market, including these AI-powered systems, was valued at around USD 653.18 billion in 2024. That massive number signals a major shift toward tools that let creators at all levels make high-quality content without the old-school barriers. You can dig into the numbers in this full market research on video creation tools.
Taking Your AI Video from Final Cut to First View
You’ve pieced together your video, the timing feels just right, and the music hits perfectly. The heavy lifting of creating your AI video is done, but don't close the laptop just yet. Now comes the part where we get your creation in front of the people who need to see it.
This final stretch is all about making sure the hard work you put in actually pays off. Inside ViewPrinter, this whole process is designed to flow smoothly, taking you from the editing timeline straight to distribution without any headaches.
Nail Your Export Settings
Before your video can go live, you have to render it. The settings you pick here depend entirely on where your video is headed. Every platform has its own quirks, and a one-size-fits-all approach is a surefire way to kill your video's performance before it even has a chance.
Think about its final destination:
- YouTube or a Website? Go for the highest quality you can. A 1080p or even 4K resolution ensures your video looks sharp and professional, especially on bigger screens.
- Instagram Stories or TikTok? These platforms are all about mobile and speed. A smaller, optimized file is your best friend here. 720p is often the sweet spot, keeping the file size small without a noticeable quality dip on a phone screen.
The good news is ViewPrinter has presets built-in for all the major social platforms. This takes all the technical guesswork out of the equation and makes sure your video is perfectly optimized for its new home.
Schedule Your Posts and Get Your Time Back
Once your video is rendered, you could just download the file and upload it everywhere manually. But who has time for that? A much smarter approach is to use integrated scheduling tools to plan out your content calendar and automate your posts.
The whole idea is to turn content creation and distribution into one seamless workflow. When you schedule directly from the tool you used to create the video, you're not just saving time—you're building consistency and making sure you post when your audience is actually online.
For instance, you could knock out an entire week's worth of TikToks in one sitting, queuing each one up to publish at the exact time your analytics show your followers are scrolling. This kind of batching is a total game-changer for staying consistent without the daily pressure of having to post something.
After finalizing your AI-generated content, you'll need to publish it effectively. For practical guidance on posting video content to social media, specifically Instagram, consider resources like this guide.
Make Your Content Discoverable
The last piece of the puzzle is making sure people can actually find your video. Crafting a great title, description, and the right tags is just as important as the video itself.
Get inside the head of your ideal viewer. What would they type into a search bar? Use that language. Clear, keyword-rich titles and descriptions are your best bet. This final step ensures your video doesn’t just get published—it gets discovered.
Common Questions About Making AI Videos
As you start playing around with AI video, a few questions are bound to pop up. It's a completely new way of working, and even with the simplest tools, there's a bit of a learning curve. Think of this as your quick-start guide to clear up the common hurdles and curiosities you'll run into.
Getting these things sorted out upfront helps you build confidence. It lets you focus on being creative instead of getting bogged down by the tech side of things.
How Much Creative Control Do I Really Have?
This is probably the biggest question people have when they first start making AI videos. The short answer? A lot more than you think.
While the AI is doing the heavy lifting with voice generation and animating your avatar, you’re still the director. You’re in charge of the elements that actually matter:
- The Script: The words, the pacing, the tone—it’s all you.
- The Visuals: You choose every single background, overlay, and graphic that shows up on screen.
- The Pacing: You’re the one deciding the timing for each scene and the overall rhythm of the video.
The AI is just a powerful tool executing your vision. Every creative decision that shapes the final video still comes from you.
Can I Make My AI Presenter Look and Sound Unique?
Absolutely. This is where a platform like ViewPrinter really makes a difference. The days of being stuck with a handful of generic, robotic-sounding avatars that everyone else is using are long gone.
Modern tools give you deep customization options to build a presenter that feels like a genuine extension of your brand. You can tweak everything from their clothing and hairstyle to the specific background they’re in. This level of detail means your presenter can perfectly match your brand’s identity, whether you need a casual influencer or a formal corporate spokesperson.
The goal isn’t just to make a video; it's to create a consistent brand experience. A unique, custom avatar helps build brand recognition and makes your content instantly identifiable in a crowded feed.
How Long Does It Take to Make an AI Video?
Once you get into a good rhythm, you can crank out a short social media video in under an hour—sometimes even faster.
The most time-consuming part is usually the prep work, like writing a solid script and gathering your visual assets. The actual assembly process inside an AI video editor is incredibly fast. This speed is one of the biggest wins of using AI. It lets you produce high-quality content at a scale that would be impossible with traditional video production, which could take days or weeks for a single video.
Is Character Consistency a Problem?
Keeping the same character looking and sounding consistent across multiple videos used to be a real headache, but it’s getting much easier. The trick is to be super specific and consistent with your descriptions and settings for the avatar.
Using the same detailed prompts for appearance and voice every single time you generate a scene is key. It helps the AI maintain continuity. It’s not always perfect, but the technology is improving at a breakneck pace, and tools are getting much smarter about keeping your characters consistent from one shot to the next.
Ready to stop wondering and start creating? ViewPrinter gives you all the tools you need to design unique AI presenters, assemble professional videos, and schedule your content in one seamless workflow. Start building your first AI video today!