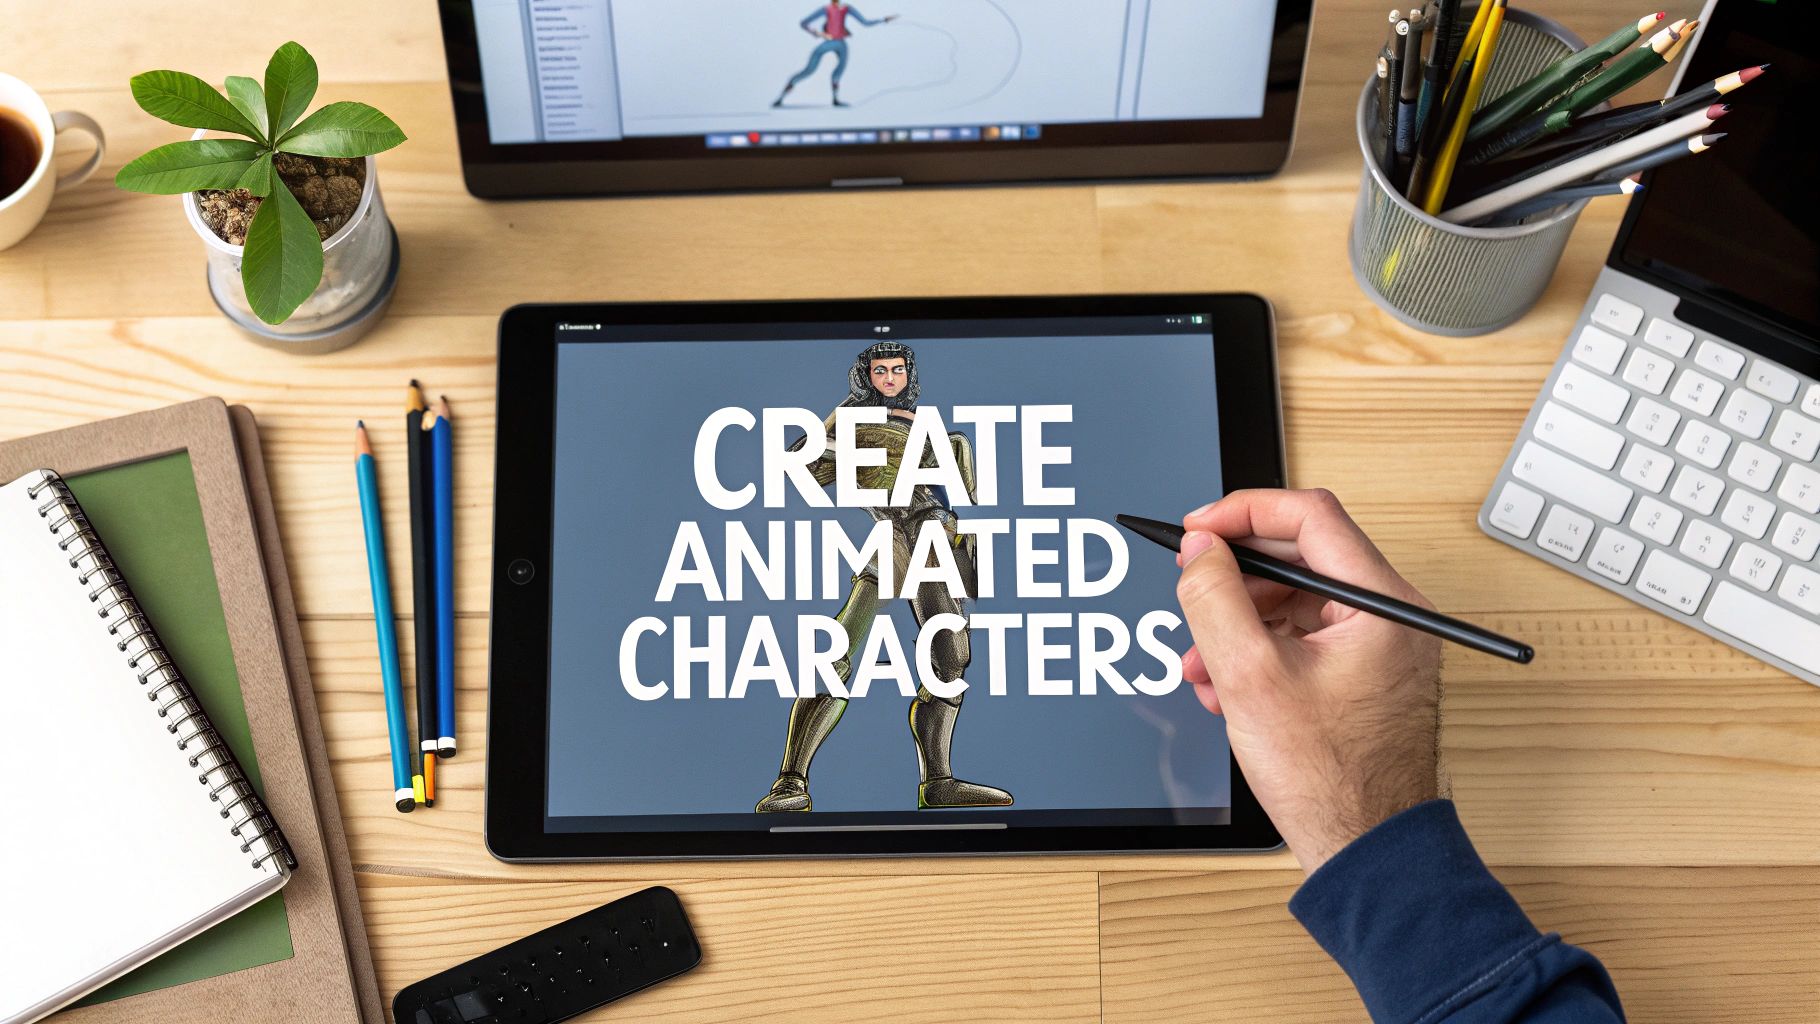
How to Create Animated Characters A Guide for Beginners
Learn how to create animated characters with this practical guide. Discover how to take your idea from first sketch to final animation with expert tips.
So you want to create an animated character? It all starts with that spark of an idea, but turning it into something that moves, emotes, and tells a story is a journey. The process itself is a blend of raw creativity and some serious technical know-how, guiding a character from a simple sketch to a fully animated personality.
Your Character Creation Roadmap
Ever wonder how a stick figure on a napkin becomes a beloved character on screen? There's a well-trodden path that animators follow, a roadmap that takes you from imagination to the final, moving product.
Whether you're crafting a simple 2D cartoon for a short or a complex 3D model for a game, following a structured workflow is key. It's a craft in high demand, too. The global animation industry is ballooning, projected to hit around $462 billion by 2025, which shows just how much this skill is needed in entertainment, ads, and even education. If you want to dive deeper, you can explore more animation industry statistics to see just how big this world is getting.
This path from concept to animation isn't as complicated as it might sound.

Think of each stage as a foundation for the next. Get the concept right, and the design flows naturally. Nail the design, and rigging becomes a clear technical task. It's all connected.
Core Stages of Character Creation
To keep your project on track, it helps to understand the distinct phases involved. Each one has a specific goal and requires its own set of tools and skills.
| Stage | Primary Goal | Key Tools & Skills | | :--- | :--- | :--- | | Concept & Story | Define the character’s personality, backstory, and role in the narrative. This is their soul. | Writing, storytelling, mood boards | | Design & Sculpting | Translate the concept into a visual form with sketches, turnarounds, and a digital 2D/3D model. | Drawing, digital painting (Procreate), 3D modeling (Blender) | | Rigging | Build the digital "skeleton" and controls that allow the character model to move and be posed. | Technical art, understanding of anatomy, rigging software (Maya) | | Animation | Bring the character to life by creating keyframes, movements, expressions, and actions. | Timing, spacing, posing, animation principles |
Breaking the process down like this turns a massive undertaking into a series of manageable, achievable steps. Let’s walk through what each of these stages really looks like in practice.
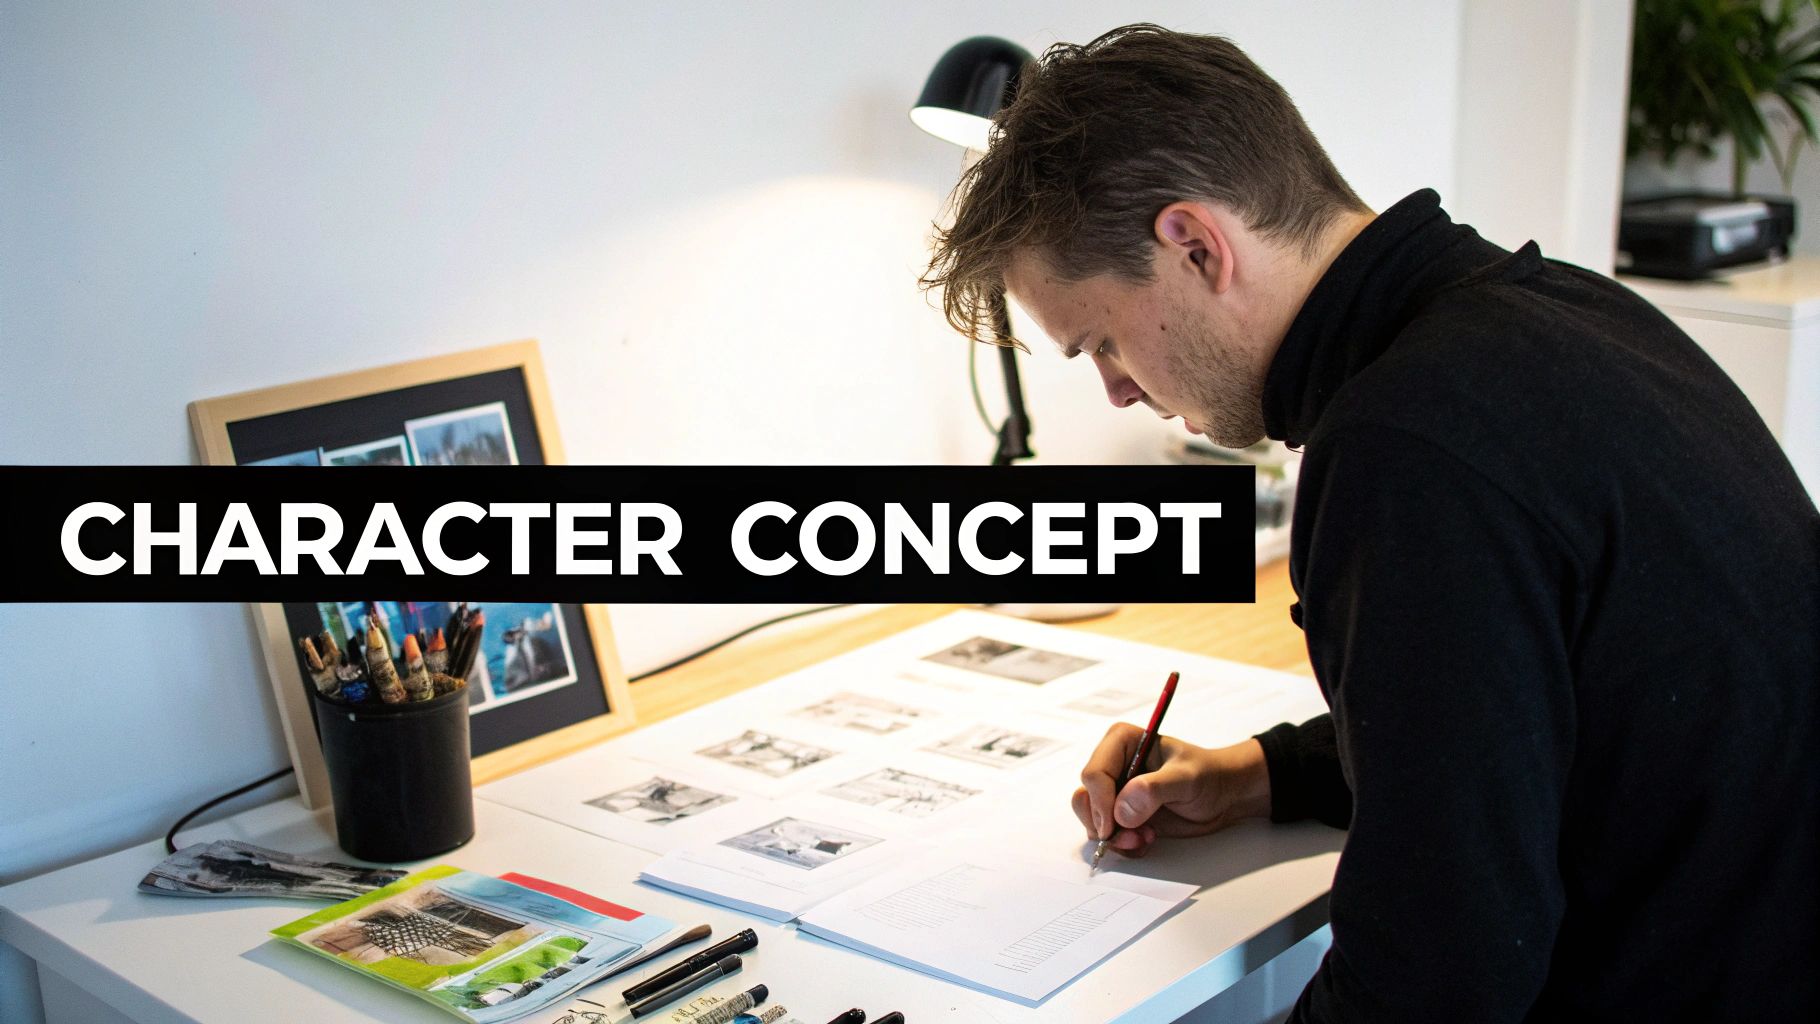
Finding Your Character's Core Idea
Before you even think about picking up a pencil or opening your design software, we need to talk about the most important part of any character: the idea. A great drawing is one thing, but a memorable character? That comes from a story. Who are they? What makes them tick? This is the foundation that separates a flat, generic design from a character your audience will actually care about.
This first step is pure brainstorming. It’s all about asking questions. Is your character a shy, bookish hero or a loud, clumsy sidekick? Their personality is going to dictate everything—their posture, their expressions, even the colors you use. A timid character might be all soft, rounded shapes and muted tones, while a bold one could be full of sharp angles and vibrant, look-at-me colors.
Think about it: a weathered space explorer is going to look completely different from a cheerful magical creature. The explorer might have scars, practical gear, and a tired stance. The creature? Soft fur and bright markings. Their backstory becomes their visual identity.
Define Their Personality and Backstory
Start by just jotting down a few key personality traits. Are they an optimist? A cynic? Are they brave or a total coward? Don't shy away from flaws—that’s what makes a character feel real. If you’re stuck, digging into some character drawing prompts can be a great way to get the creative gears turning.
Once you have a sense of their personality, dig into their history.
- Where are they from? A character raised in a slick, futuristic city will carry themselves differently than someone from an enchanted forest.
- What major life events shaped them? Maybe that scar over their eye isn't just for looks. These events can show up in their clothes, accessories, or physical marks.
- What do they want most? Their core motivation should be visible in their design and how they hold themselves.
Your character’s design is visual storytelling. Every shape, color, and line should tell the audience something about who they are before they ever say a word.
Getting this stuff sorted out early on is what makes the final design feel cohesive and believable. It’s the difference between a drawing and a character.
This is a great example of a character design sheet. It's not just one drawing; it explores different poses and expressions to really nail down who the character is.
Think of this sheet as your North Star for the rest of the animation process. It keeps everything consistent and ensures every movement and expression stays true to the character's core idea.
Picking Your Digital Design Toolkit
Okay, you've got your character's personality and backstory nailed down. Now it's time to bring them to life on the screen. The software you pick is a huge decision; it shapes your entire workflow and the final look of your character.
This choice really boils down to one fundamental question: raster or vector?
Raster-based programs, like Procreate or Adobe Photoshop, think in pixels. This is your go-to if you want that rich, textured, hand-drawn vibe. Think painterly effects, soft gradients, and organic details. If your character feels more like a painting than a cartoon, raster is where you'll feel right at home.
Vector software, on the other hand, uses math. Tools like Adobe Illustrator or Affinity Designer create shapes and lines from mathematical equations instead of pixels. The magic here is scalability. You can blow up your character to fit a billboard or shrink it to an app icon, and it will stay perfectly crisp. No jagged edges, ever.
Vector vs. Raster: A Quick Comparison
So, which one is for you? It all comes down to the look you're after and where your character will end up.
- Choose Raster (Procreate, Photoshop) if you're chasing a natural, artistic feel with complex shading and texture. It's the best choice for characters that need an organic, painted look.
- Choose Vector (Illustrator, Affinity Designer) if you need clean lines, sharp edges, and flawless scaling. This is the industry standard for most modern 2D animation and design work.
And if you're diving into the world of 3D, Blender is the king. It's an incredibly powerful, industry-standard tool that’s completely free and covers everything from modeling to animation.
Nailing Your Digital Workflow
Whichever software you land on, a clean process is your best friend. Start with a polished version of your sketch, focusing on creating clean, deliberate lines. Trust me, you'll thank yourself later when it's time to animate. Next, lock in a color palette that screams your character's personality.
If you're looking for a head start, don't be afraid to check out pre-made assets. Libraries of Rive animation templates can be a goldmine for seeing how the pros set up their files.
We're also in an exciting time where AI is changing the game. By 2025, AI tools are expected to cut down production times by a whopping 30% to 50%. Things are moving fast.
Pro Tip: For a faster route to a finished character, look into specialized tools. For example, our guide on how to create an avatar shows how ViewPrinter's studio can automate a huge chunk of the design work for you.
Building Your Character's Skeleton with Rigging
So you've designed a great-looking character. That’s awesome, but right now, it's just a static image. To bring it to life, you need to give it the power to move, and that's where rigging comes in.
Think of rigging as building a digital skeleton for your character. It’s the technical, yet kind of magical, process of creating an internal armature—complete with bones and joints—that defines every possible movement your character can make.
This "skeleton" isn't just for looks; it’s a fully functional framework. Each bone is connected in a logical hierarchy, forming parent-child relationships. For instance, the upper arm bone is the "parent" of the forearm bone. Move the upper arm, and the forearm and hand naturally follow, just like they would in real life. This structure is what makes the final animation feel believable.
Without a solid rig, animating would be a nightmare. You’d be stuck redrawing your character for every single frame. Instead, rigging gives animators a set of simple controls to grab and manipulate, turning a complex model into a performance-ready puppet.
Understanding Bones and Controllers
At the heart of every rig are two key components that work in tandem to make an animator's job easier. Getting how they interact is the secret to creating characters that move in a way that feels right.
- Bones (or Armatures): This is the internal scaffolding. In 3D software like Blender, you’re literally building a complete armature. In 2D, tools like Adobe After Effects use "puppet pins" which act as pivot points and serve a very similar function.
- Controllers: These are the visible handles the animator actually works with. Instead of trying to select a tiny bone deep inside the model, an animator can just grab a clear, intuitive controller for the hand to make the character wave. It’s way faster and much more artist-friendly.
This setup means you can control really complex actions with simple inputs. You could even create a custom slider for a facial expression that controls a smile, an eye blink, and an eyebrow raise all at once.
Rigging is the crucial bridge between design and animation. It’s the technical foundation that gives your character the ability to perform, emote, and truly come to life on screen.
Of course, not every project needs a hand-built, complex rig. For simpler animations or for creators just starting out, some platforms offer automated solutions. If you want to see how that works, our article on how to create a cartoon avatar breaks down how modern tools can handle a lot of this technical setup for you, letting you focus on the fun part—the performance.
Breathing Life into Your Creation
Alright, your character is rigged and ready for the spotlight. This is where the real magic happens—the part where you stop being a digital sculptor and become a performer, breathing personality and life into your creation.
We're talking about the core principles of animation, the timeless rules that separate clunky, robotic movement from something that feels truly alive. Take squash and stretch, for example. Think about a bouncing ball. It squashes flat when it hits the ground and stretches out right before it lands and as it bounces back up. This simple effect gives it a sense of weight and flexibility. It’s a game-changer for making things feel real.
Another big one is anticipation. Before a character throws a punch, they wind up. Before they jump, they crouch down. This small, preparatory movement tells the audience, "Hey, something big is about to happen!"
From Principles to Performance
Knowing the theory is one thing, but putting it into practice is where the fun begins. A fantastic place to start is with the classic walk cycle.
A walk is never just a walk; it’s pure storytelling. Is your character confident? They’ll have a spring in their step, chest puffed out. Are they exhausted? Their shoulders will slump and their feet will drag. You start by setting the key poses—the moments a foot hits the ground or passes the other leg—and then you fill in the frames between to smooth it all out.
This is what animators have been using for decades to make characters feel believable.
Even just getting a handle on a few of these, like timing and staging, will seriously level up your work.
Animation is all about communicating emotion through movement. Sometimes, a subtle eye-dart or a shift in weight can tell you more about a character than a whole page of dialogue ever could.
Adding Voice and Final Polish
Movement is only half the story. To really make your character complete, you need sound. A voice adds a whole new dimension of personality. Don't skimp on this part—finding the right gear for recording high-quality vocals can make a world of difference.
Once your animation is smooth and the audio is locked in, it's time to render your work into a final video file. Now, your character is officially born and ready for its debut! If you're wondering what's next, check out our guide on https://viewprinter.tech/blog/articles/how-to-create-video-ads to see how you can feature your new creation in some awesome marketing content.
Common Questions I Hear from New Animators
Diving into character animation for the first time can feel like you're trying to learn an entirely new language. It’s totally normal to have questions. Here are a couple of the big ones I see pop up all the time.
Do I Really Need to Be an Amazing Artist to Animate?
Honestly? No. It helps, a lot, but it’s not the barrier it used to be.
Modern animation, especially in 3D, is often more about understanding form, weight, and movement than it is about being able to sketch a masterpiece. Think about it—some of the most memorable animations are all about the performance and timing, not necessarily the complexity of the drawing itself.
Plus, the tools are getting so much better. AI character generators and platforms like ViewPrinter’s avatar studio can give you a professional-grade model to work with, even if you can’t draw a straight line. That frees you up to focus on what matters most: bringing that character to life.
The most important skill is observation. Pay attention to how people and animals move in the real world. That understanding is far more valuable than the ability to draw a perfect circle.
What’s the Biggest Mistake Beginners Make?
Easy. Rushing the prep work. I see it constantly. New animators get so excited to see their character moving that they completely blow past the concept and rigging stages.
This always comes back to bite you. A poorly designed character is a nightmare to animate, and a broken rig will fight you on every single keyframe. It turns a fun, creative process into a frustrating technical slog.
So, take your time on the foundation. Nail down the story, refine the design, and build a solid rig. I promise you, the animation process will be a thousand times smoother and more enjoyable. A strong start is everything.
Ready to skip the technical hurdles and start creating? The ViewPrinter avatar studio lets you design and generate custom characters in minutes. Build your first character today at ViewPrinter.